This is an advanced tutorial. It assumes you’re familiar with Claude Code and concepts such as Skills and MCPs, and that you have Python installed and know how to set up a local Python environment. It also assumes you have downloaded and installed Blender 5.2, and you have connected Claude Code to Blender via its MCP, or are able to use Claude’s official connector.
I’m aware that’s a huge ask! If you aren’t familiar with these, fear not: I’ve included plenty of imagery to give any reader a glimpse of the work behind this project, and I’ll be creating a separate beginners’ tutorial soon to make this type of content more inclusive.
The tutorial is split into the parts below, and each link takes you straight to that part, so it’s easy to come back to the information you need:
Part 1: Gathering and processing data
Gathering Openly Available Information
The aim of this step is to gather only as much high-quality, consistent information as the project needs. How much is enough is subjective, but in my experience too much information is counterproductive.
In the UK, local authorities publish the drawings submitted to obtain consent for new developments: every drawing used in this project came from that publicly available dataset. I used Claude Opus 5.5 through the Chrome extension to find, download, categorise and schedule every drawing. You can do the same with this simple prompt:
With the purpose to later 3D model 30 St Mary Axe (The Gherkin, London), use Chrome and my Downloads folder to:

1. Find the main planning application and every approved approved drawings (amendments, variations, reserved matters, condition discharges). List them for us to choose the relevant applications.
2. Download all files for each of the applications chosen (big zips can take minutes). Extract only material relevant to 3D modelling (drawings, D&A, parameter plans, AVRs) into a folder. Skip comments, letters, forms, surveys, etc. Prefix each file with its application ref and sort into folders by building, plus Masterplan.
3. Create an excel schedule in that folder: Document name | Building | Application ref | Date | Latest (TRUE/FALSE) | Notes | File path. Latest = no newer revision to the same drawing among the downloaded applications.
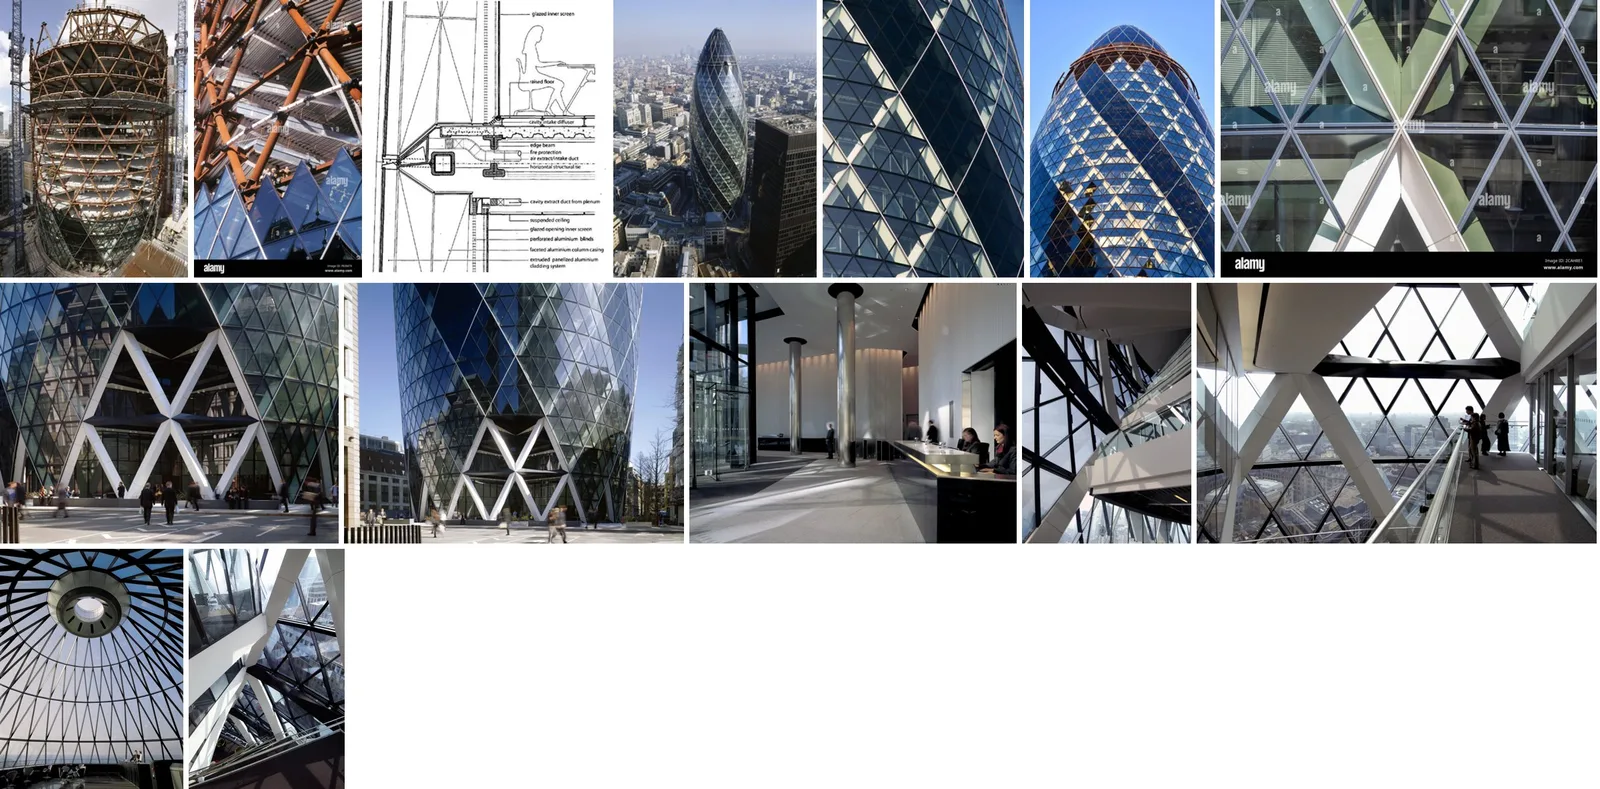
4. For this building, download as many full-res, freely licensed photos as possible (Wikimedia Commons first): construction, exterior, interior (empty), aerial. Save to its folder under Reference Photos/[type], with a credits CSV. Don't add them to the spreadsheet.
Prompt notes: Requires Claude’s Chrome extension. I developed this prompt for another project with multiple buildings within a masterplan, but it worked just fine for this project too.
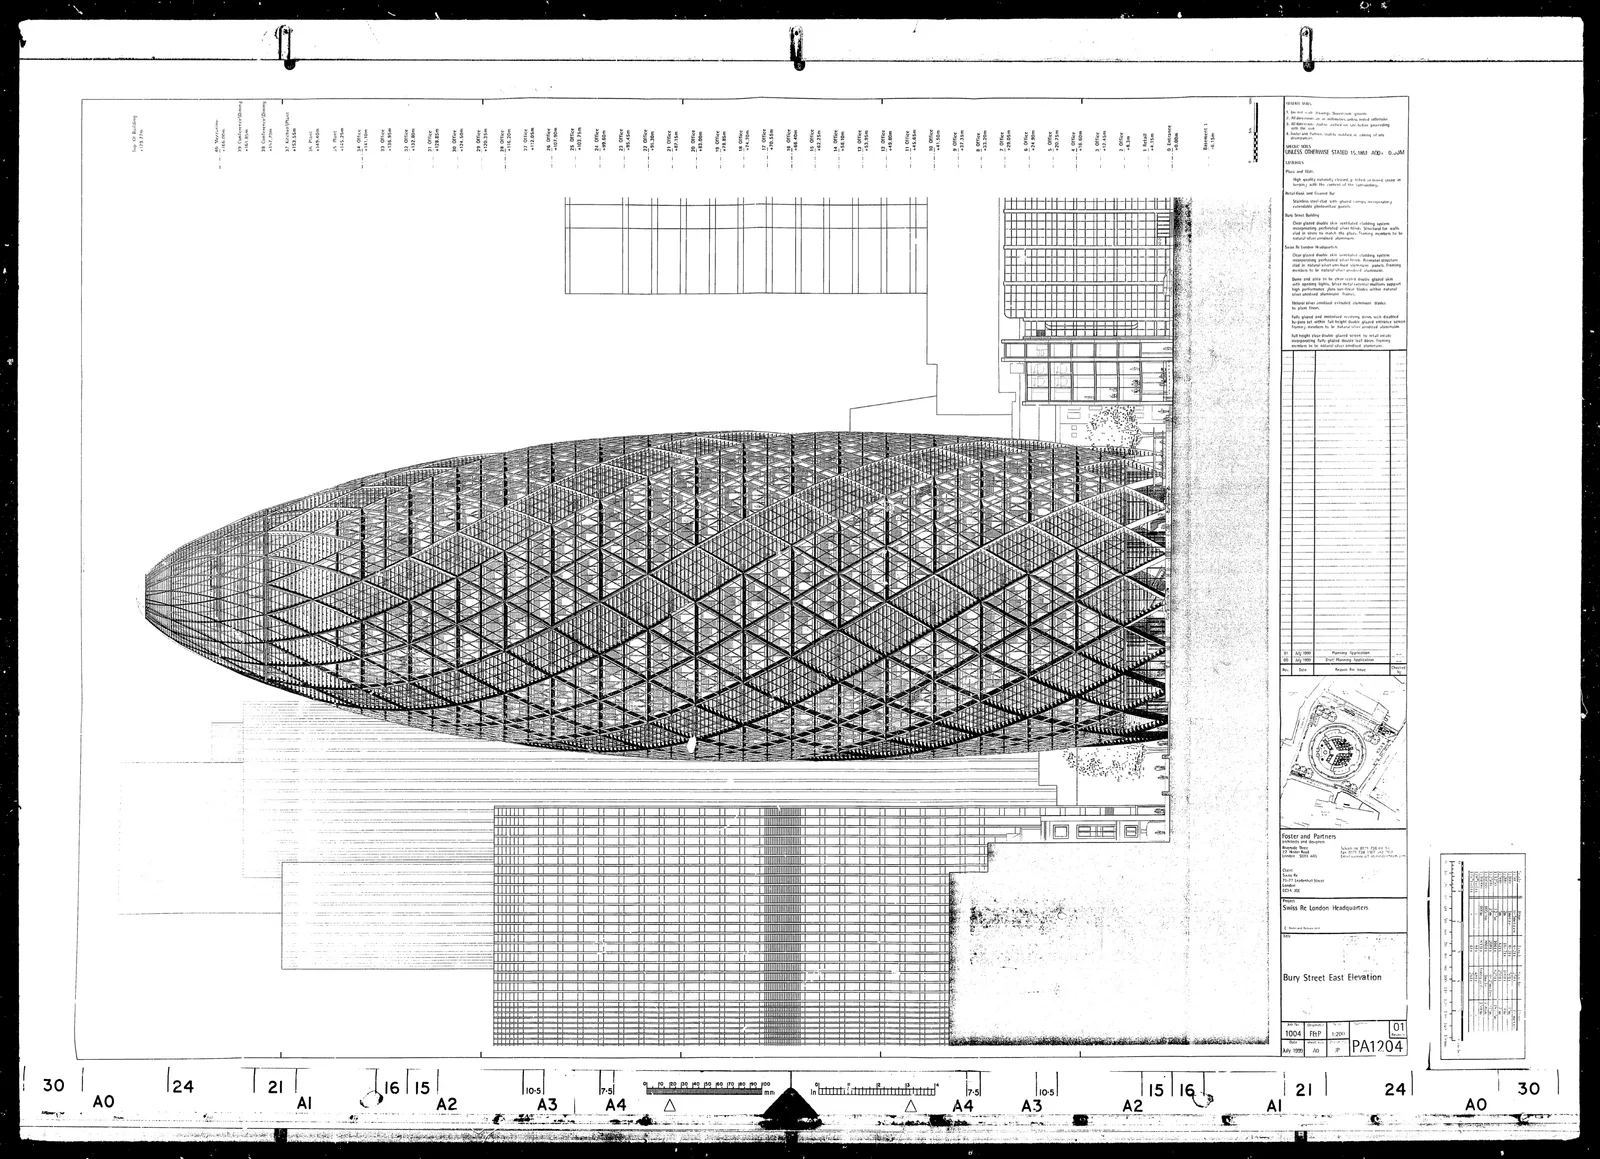
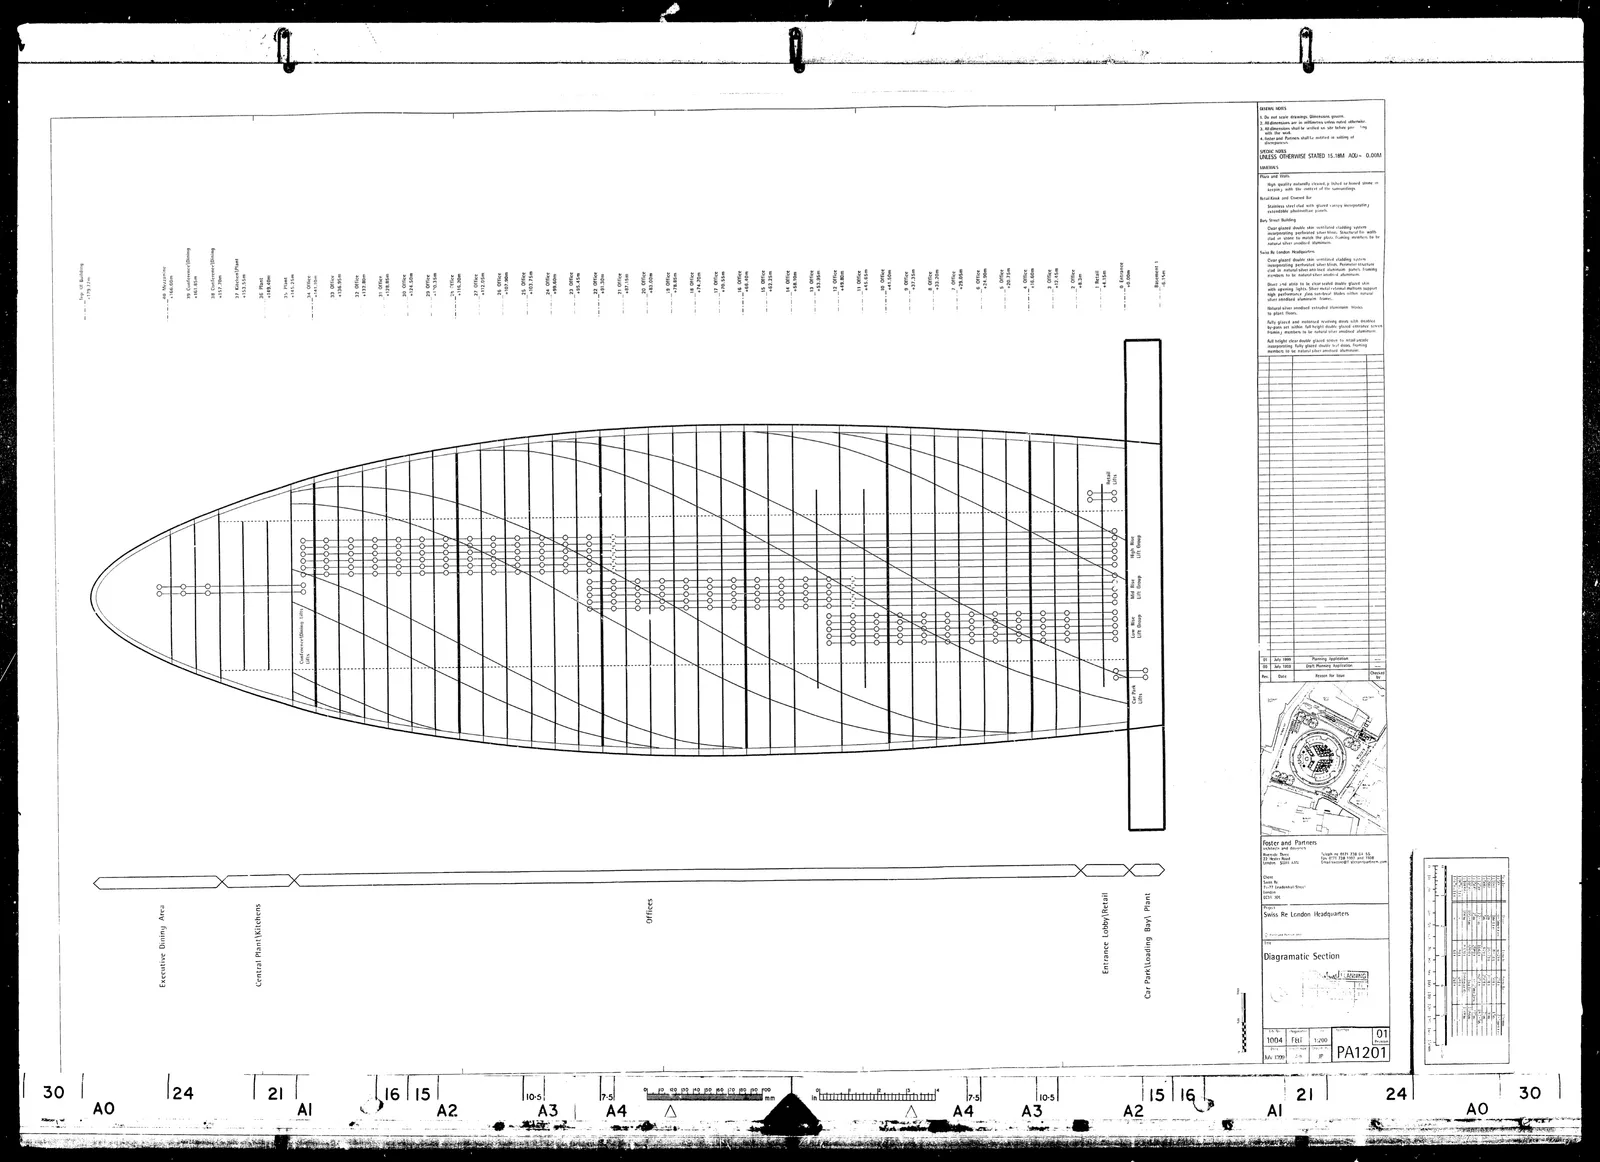
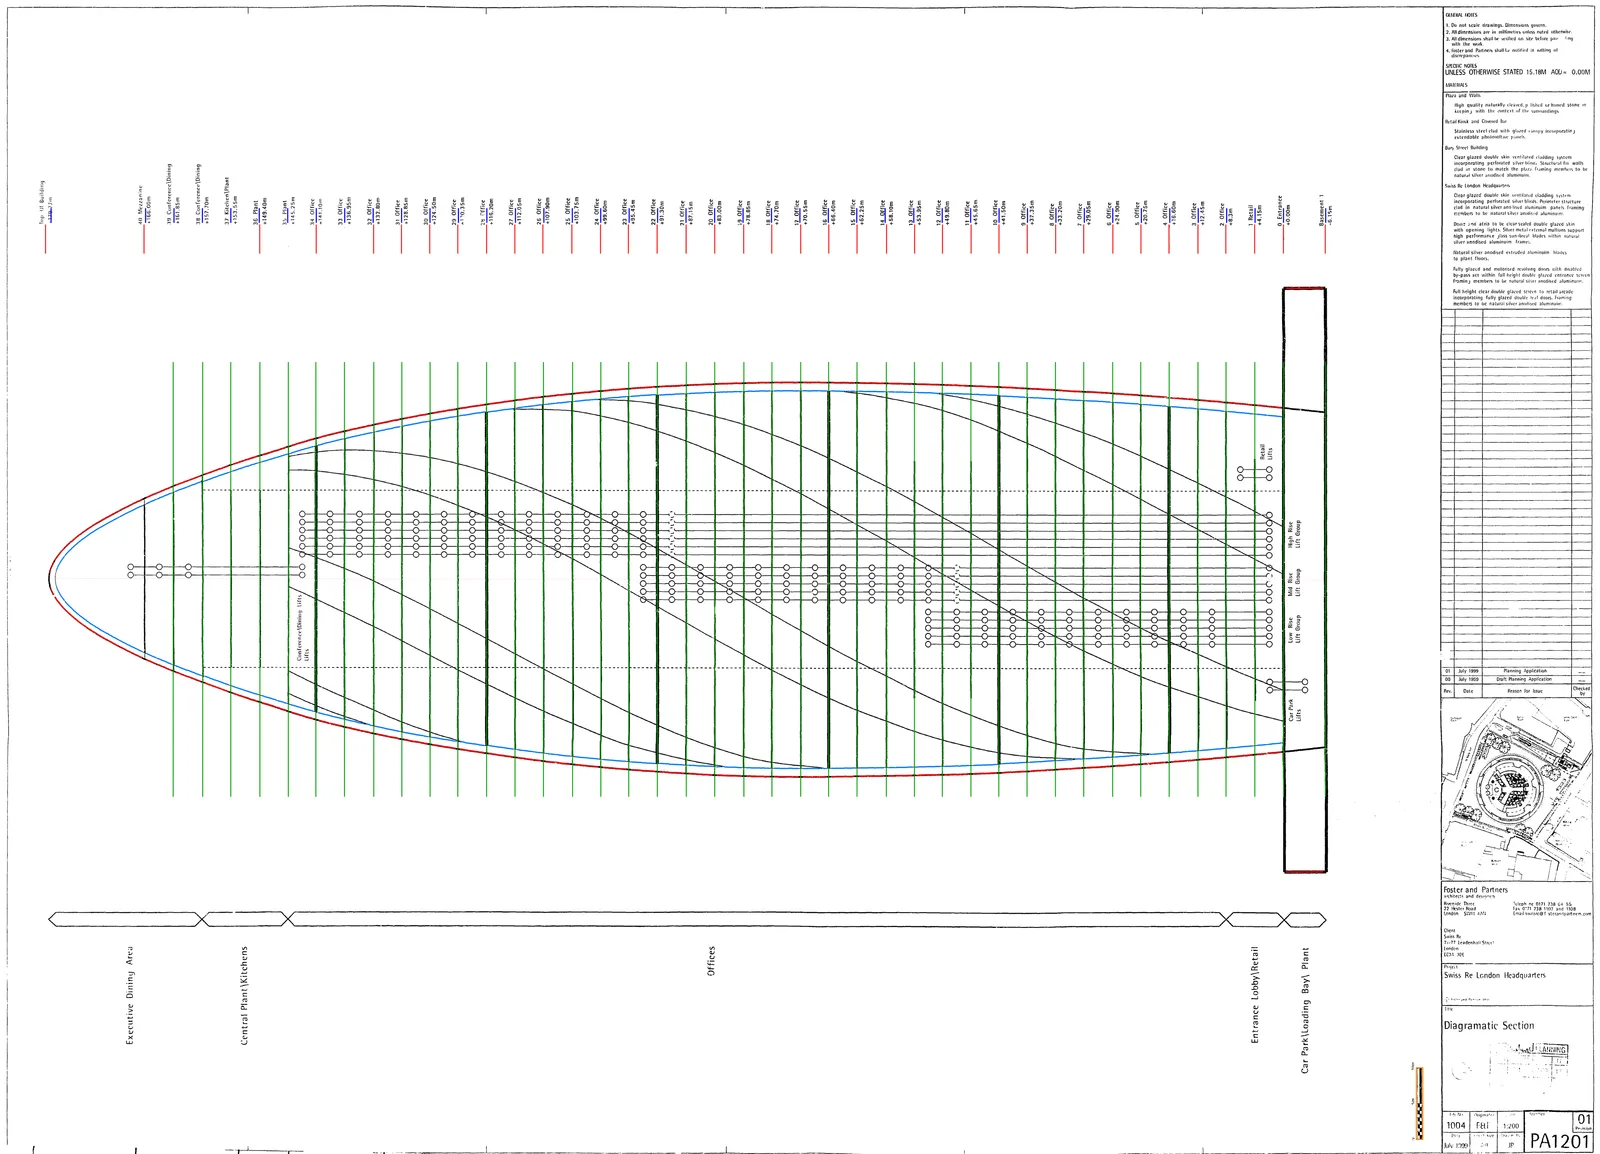
I then shortlisted the drawings and images which I wanted as input for the 3D model manually myself. Here’s a sample of what I used as an input:
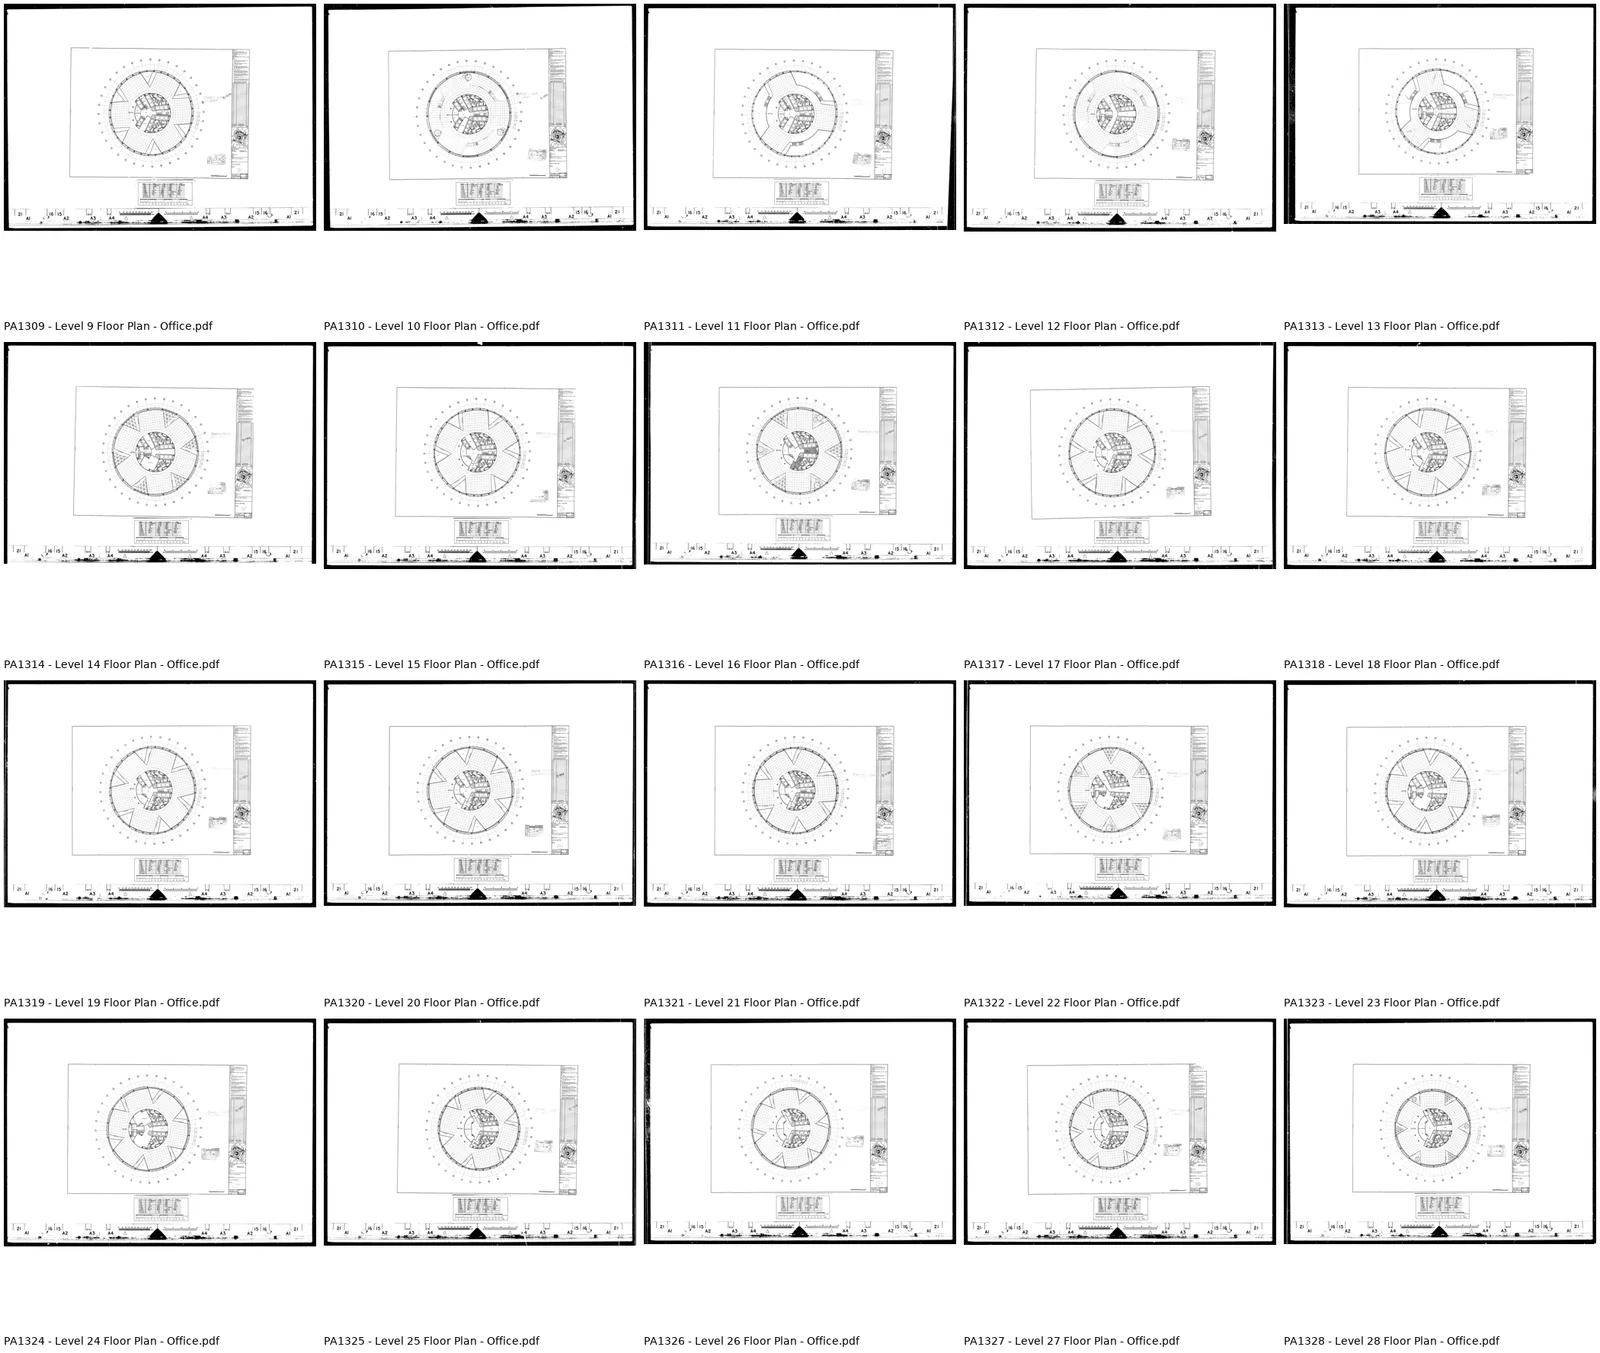
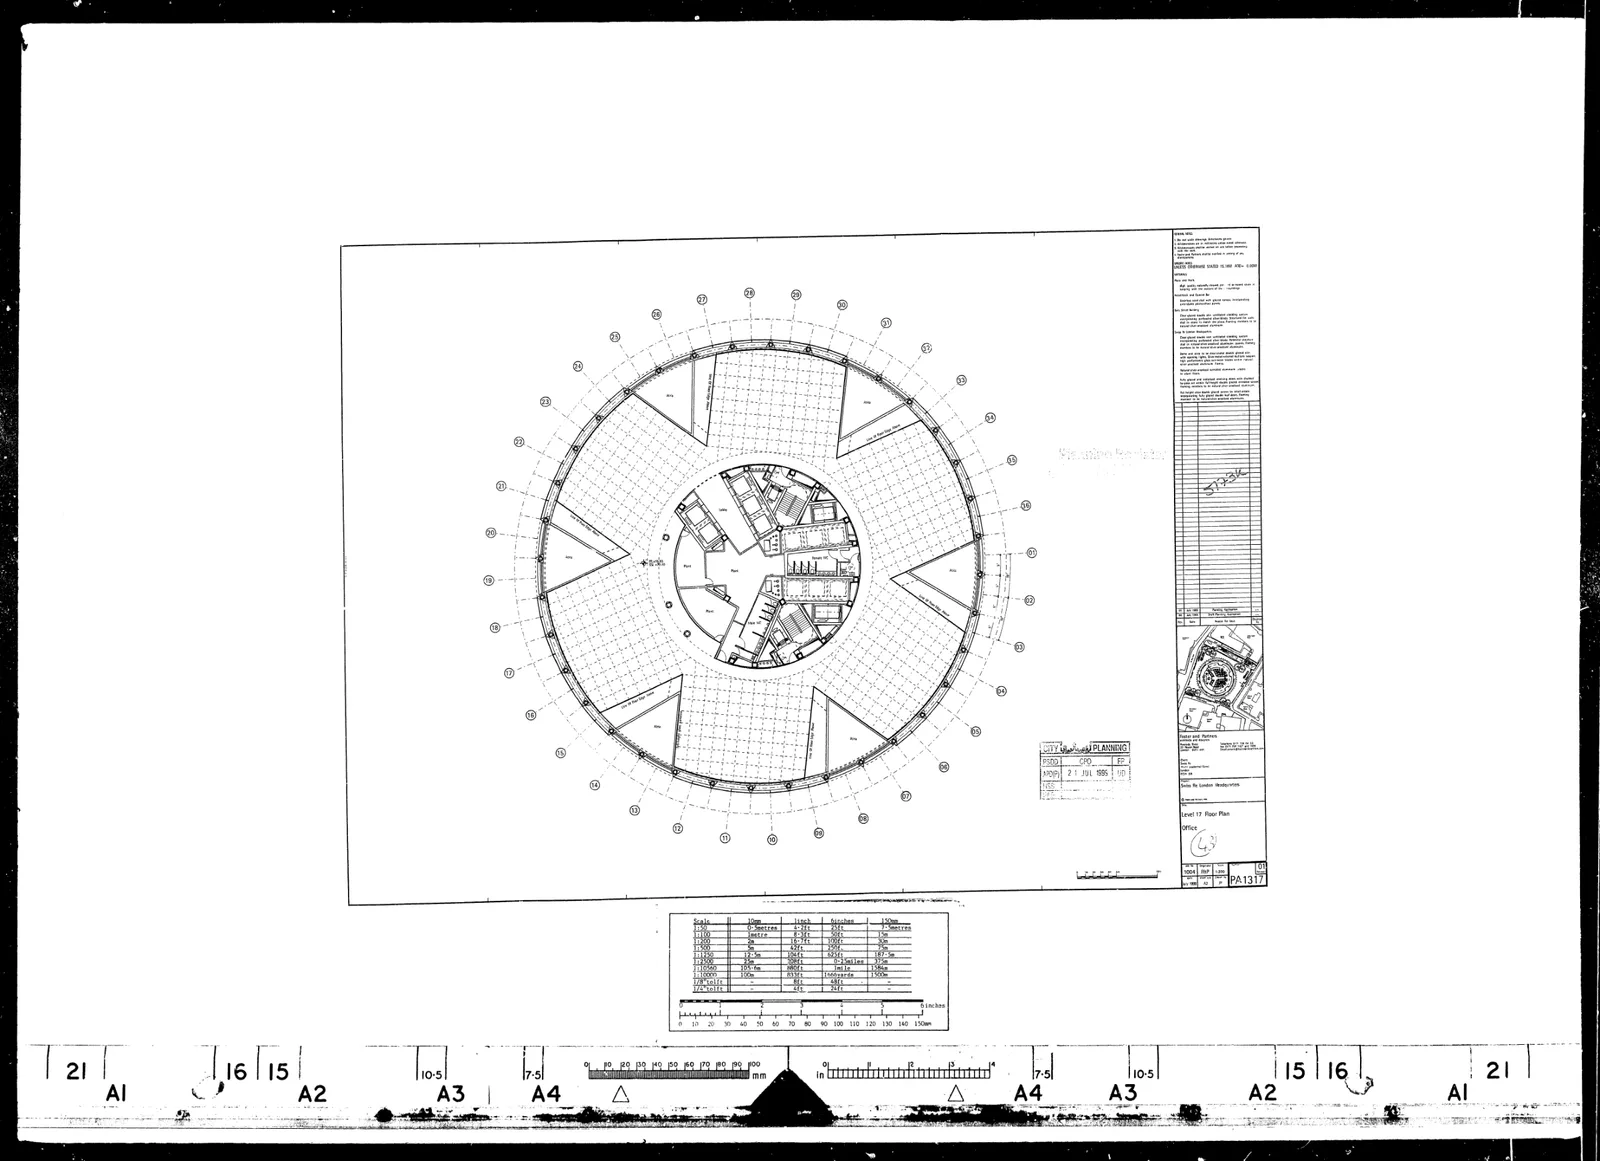
Pre-processing of Architectural Drawings
The purpose of this step is to extract the information needed to model this building in 3D.
Most of the drawings in the planning portal dated from July 1999 and were scans of the original paper copies submitted to obtain planning consent, so they had to be pre-processed with a custom prompt & skill.
I used Claude Opus 5.5 to process them, running the prompt in the same chat as the previous step. The prompt & skill do two things:
- They process the information in parallel and have an orchestrator double-check the results.
- They identify two disciplines, Architecture and Structures, because I wanted separate IFC models at the end of the project to mimic what I am used to in construction.
Beyond engineering and testing the skill and a cursory review of its output, I had no manual input on this step. I have uploaded the skill to GitHub for anyone to freely download, including instructions on how to run it.
The skill is a collection of instructions and Python scripts to extract the information needed to 3D model a building. It can be simply run with the following prompt (the skill does the heavy lifting):
Use the aecfn-building-modelling-brief skill to prepare a modelling brief for 30 St Mary Axe (the Gherkin). Drawings are in `ref/drawings`, photos are in `ref/images`. Spawn parallel Opus 5.5 specialist subagents managed and reviewed by a Opus 5.5 Master Orchestrator (`Model="inherit"` for all). Where sources conflict, use the most recent information.Swap in your own building and folders if you want to use it. Claude will ask about anything it can’t work out, and check in with you at the key decisions. Depending on the amount of information you are trying to process, this step could take several minutes (or over 1h in my case).
What happens when you run the skill, step by step
- Sorting the pile: The skill first finds the drawing frame on every sheet, straightens tilted scans, and crops each one tight to its border, saving the result as a PNG and a PDF. It then reads each title block and records the drawing number, title, revision, scale and paper size, and checks whether the scan is at paper size. Only then does it drop duplicates and old versions.
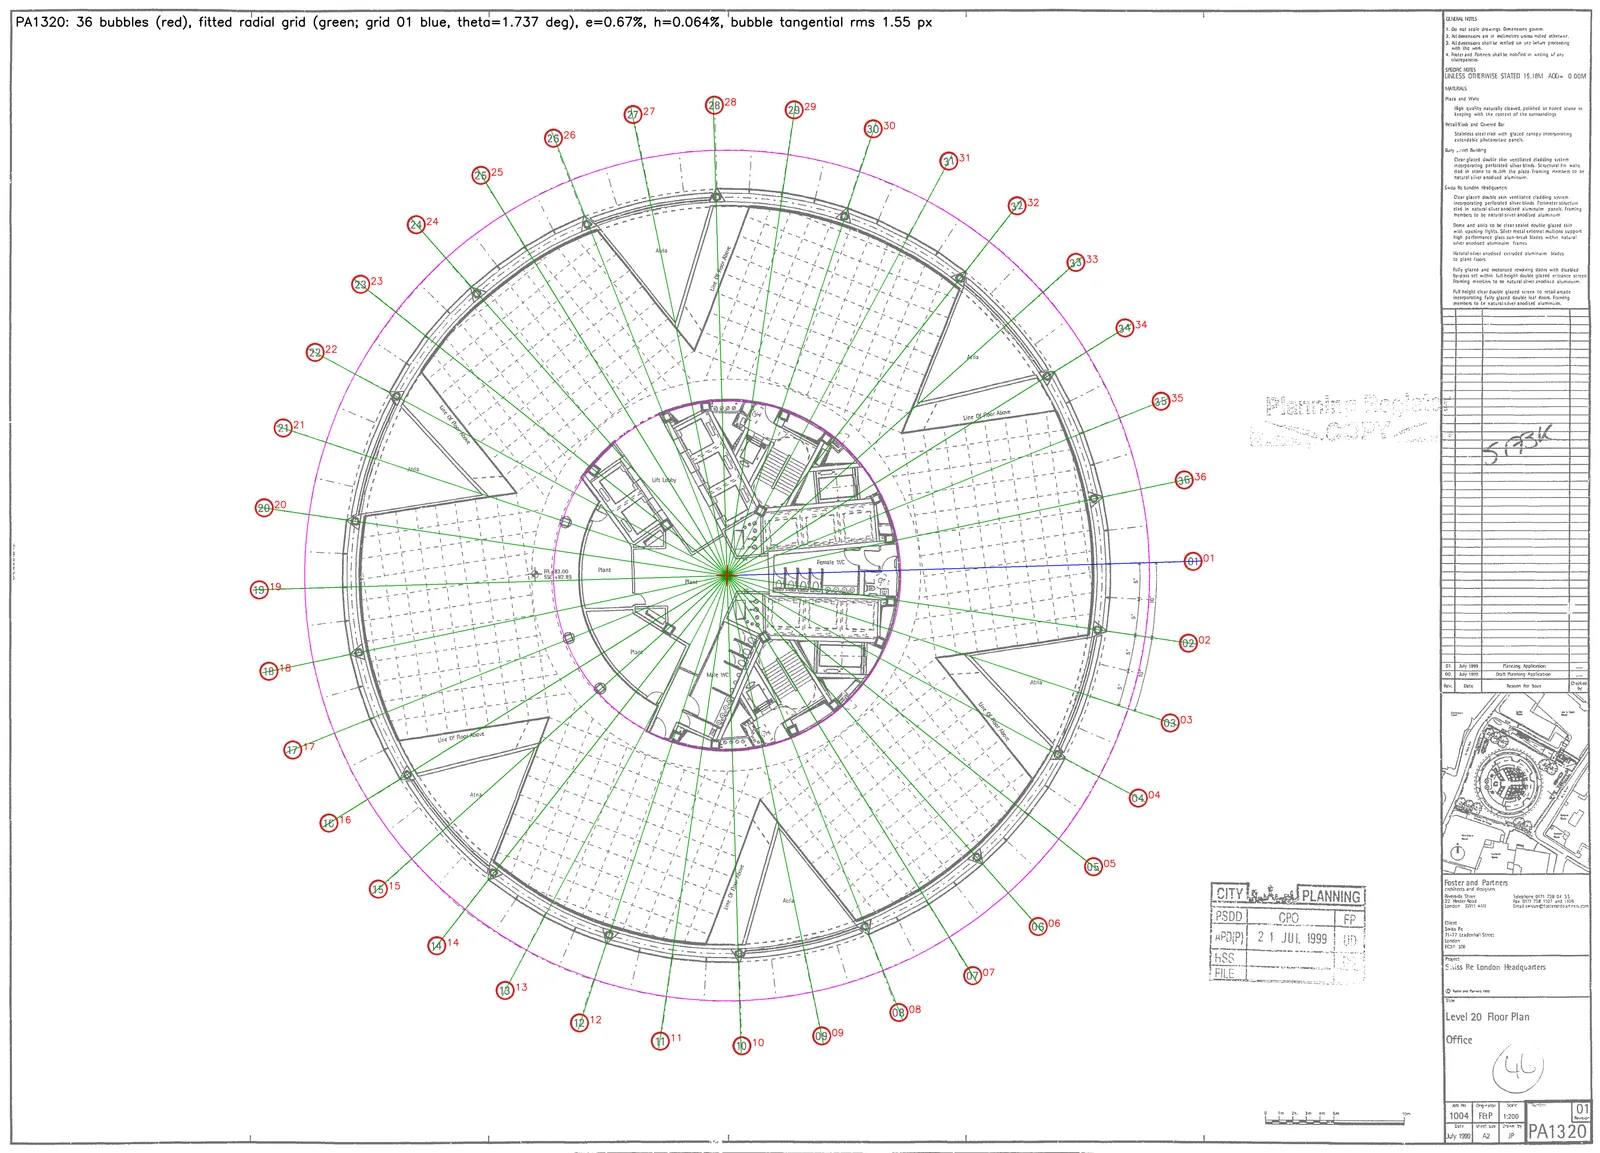
- Lining everything up: Again, because these are raster scans (not flat) from an old set of information, the skill finds known points, such as the numbered grid bubbles around the building, and fits the drawing to real-world metres. It then checks the fit against a dimension it didn’t use, so mistakes get caught early.
Example: On the Level 20 plan, Claude found all 36 grid bubbles (red) and fitted the radial grid through them (green), with grid line 01 in blue.
- Measuring the building: The skill reads, for example, floor heights, the curved outline, the cores and the atria, and writes them into one master file (the “spec”). Each number notes which drawing it came from and how sure Claude is about it.
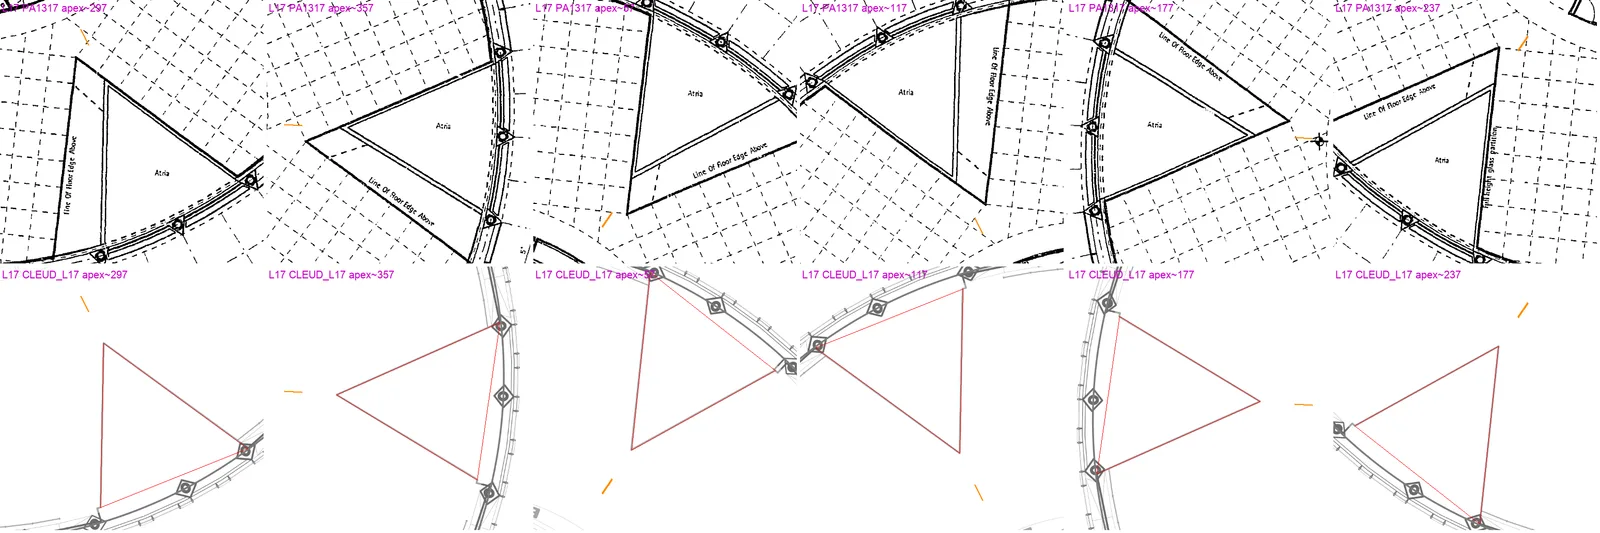
When two drawing sets disagree, Claude compares them side by side instead of picking one at random. Here the 1999 planning drawings (top) are compared with the 2024 survey (bottom). This was only necessary because I input two drawing sets, instead of only the latest. I did so to verify the accuracy of the 1999 scanned drawings.
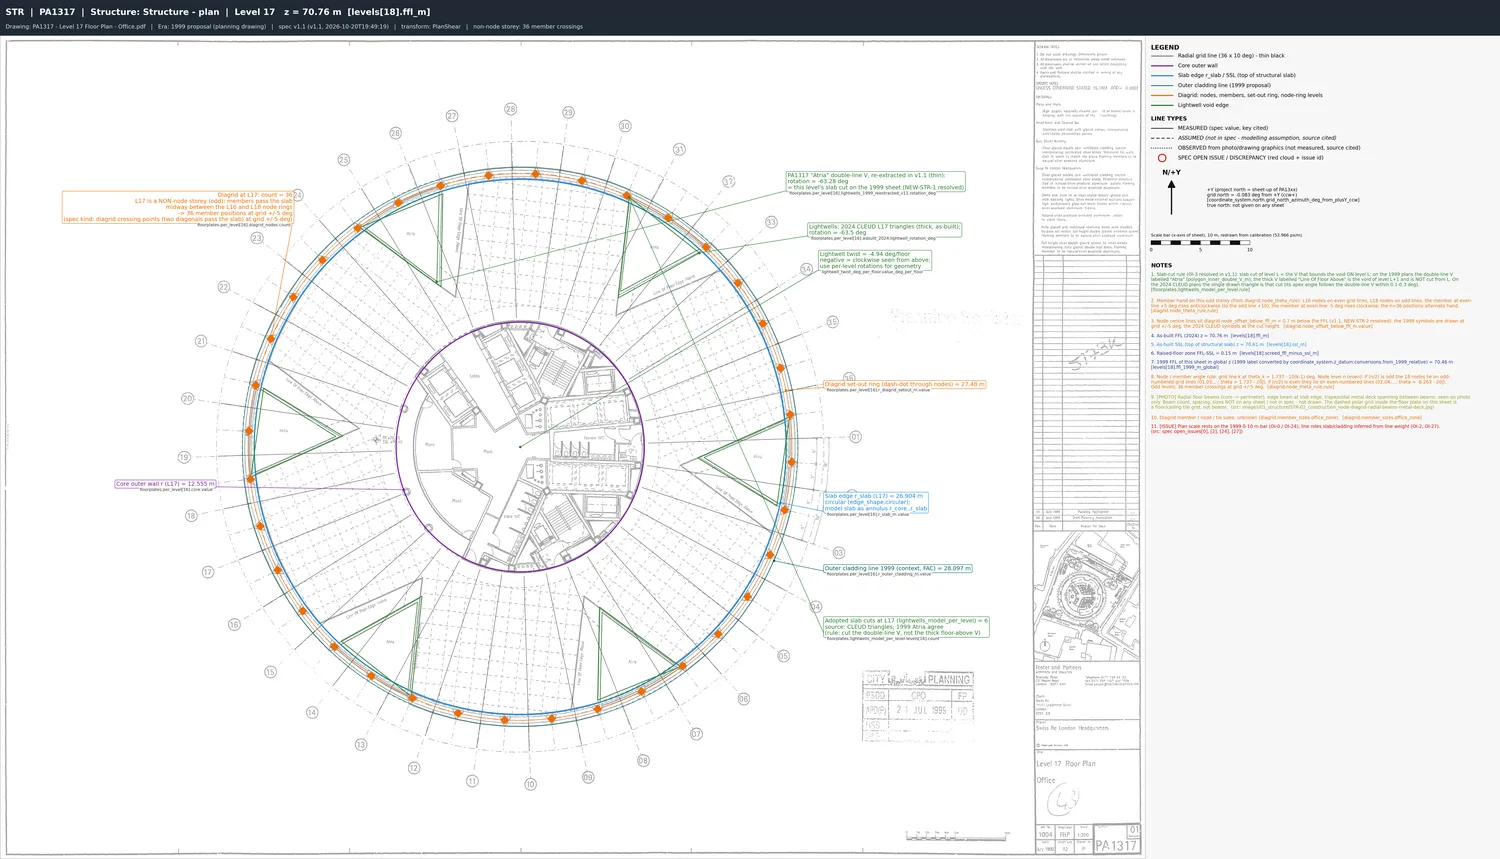
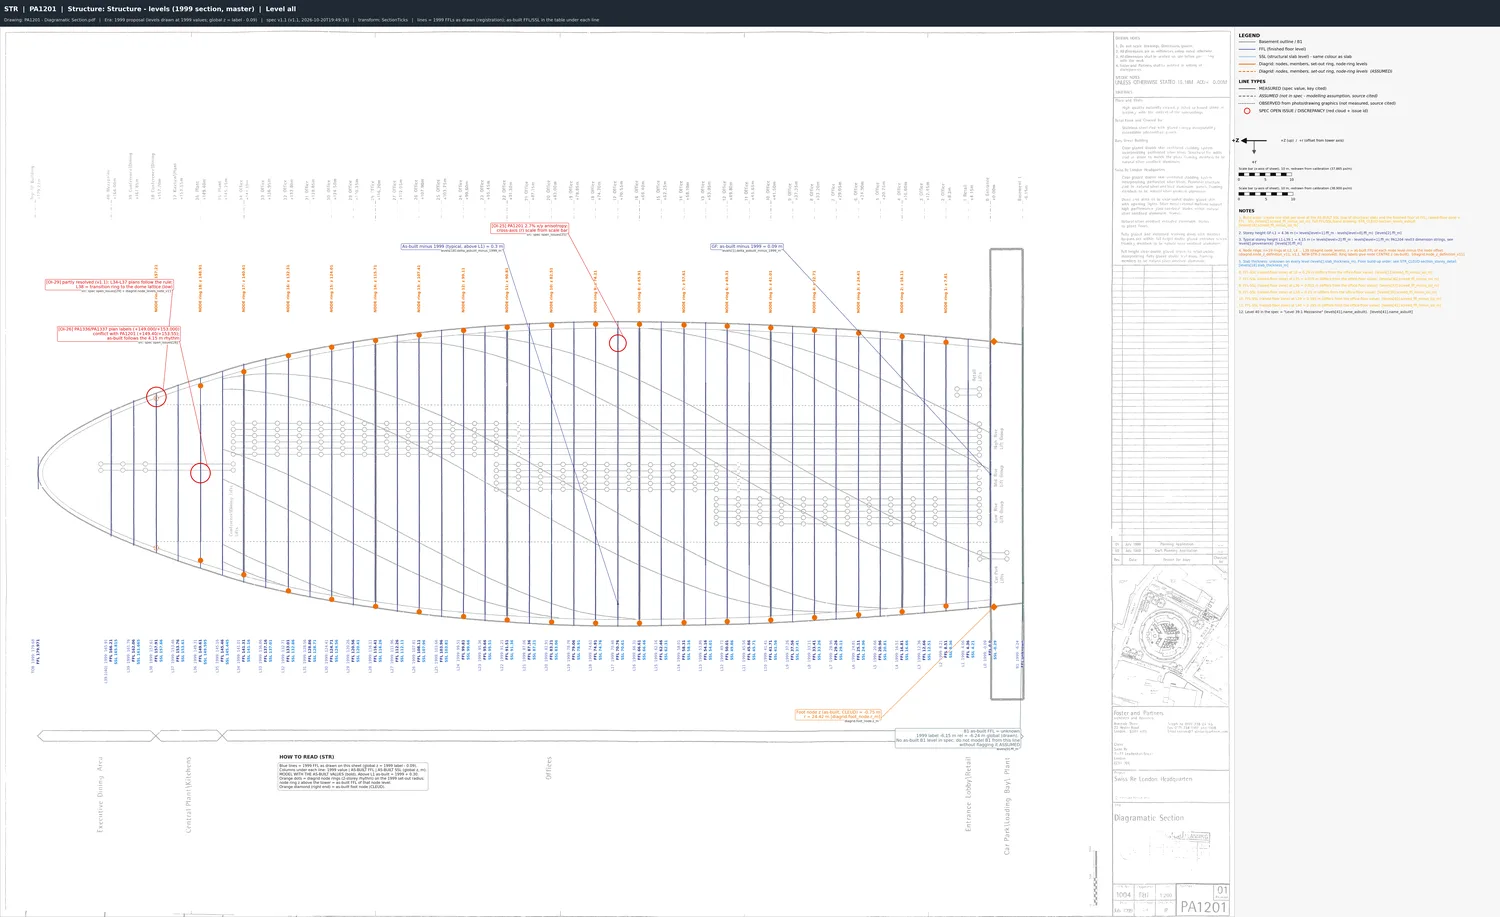
- Drawing the numbers back on: The skill then draws its measurements back onto the original drawings, colour-coded by type: structure, facade, interior and site. If a coloured line doesn’t sit on the drawn line, something is wrong, and Claude fixes it. The purpose of these marked-up sheets is to show the 3D modeller agents later what each number means.
- Sorting the photos: Claude removes duplicates, files the photos in build order, and writes a note for each one: what it shows, what to use it for (materials, colours, how parts join) and what to ignore. Photos are never used for measurements, but are a crucial reference.
- Final checks: Claude runs a final check, making sure every number traces back to a drawing and every marked-up sheet matches the spec.
What you get
One folder (for the Gherkin, gherkin_brief_v1.1) containing:
| In the folder | What it’s for |
|---|---|
00_README.md | A guide to the package |
spec/ | The master file of measurements |
markups/ | Colour-coded drawings explaining the numbers |
underlays/ | Drawings at true scale, to place in Blender as tracing references |
images/ | The curated photos and their notes |
When running this skill, Claude should tell you how accurate the result is, and should ask any questions that still need a human decision.
The scripts in the skill
The skill’s scripts/ folder holds the Python tools Claude runs along the way, listed here in the order they’re used.
| Script | What it does |
|---|---|
sheet_prep.py | Runs first. Finds the drawing frame on every drawing (PDF or scanned TIF/JPG/PNG), straightens tilted scans and crops them tight to the frame as PNG and PDF, makes a readable image of each title block, and records the drawing number, title, scale and paper size read from it. |
inventory.py | Catalogues the cropped drawings (page size, scale, title, scanned or vector) and makes thumbnails and a drawing index. |
calibrate.py | Fits each drawing to real-world metres from known points such as grid bubbles and level tags, and checks the fit against a dimension it didn’t use. |
pdf_vectors.py | Reads lines, circles, text and CAD layers straight out of vector PDFs, optionally converted to metres. |
raster_tools.py | Finds grid bubbles and level lines on scanned (image-only) drawings, so they can be calibrated too. |
pair_levels.py | Matches the level lines found on a scanned section to a table of floor heights. |
rectify.py | Turns each calibrated drawing into a true-scale image (an “underlay”) that drops straight into Blender. |
view_underlay.py | Crops an underlay with a metre grid, or traces a profile across it, so measurements can be read off in real-world units. |
markup.py | Draws the measured values from the spec back onto the underlays as colour-coded markups. |
curate_images.py | Finds duplicate photos, makes previews, and files the chosen photos into folders under clear names. |
validate.py | Checks the brief before hand-over: every number has a source, every markup matches the spec, and no files are missing. |
package_brief.py | Gathers only what the modeller needs, runs the validation again, and zips the brief. |
bmb_common.py | Shared helpers used by the other scripts (reading the spec, paper sizes, scale maths). |
Part 2: 3D Modelling in Blender
This is the fun part, and in many ways the most hands-off part of this tutorial. This step takes the ‘Measured Brief’ package from Part 1 and models the building in 3D in Blender.
In essence, it works as a loop with a goal: the goal is to model the building in 3D from the information we provide, and the loop continues until it believes it has achieved that goal. An orchestrator agent oversees specialist agents and an adversarial critic. Each specialist models and renders in Blender, and the critic compares the results against the reference images.
It can be simply run with the following prompt (the skill does the heavy lifting):
Build a complete multi-zone 3D architectural reconstruction of 30 St Mary Axe (the Gherkin) in Blender using the `aecfn-building-3d-modelling-blender` pipeline.

Brief package: gherkin_brief_v1.1. Read 00_README.md first. Do not edit the brief

Spawn parallel Opus 5.5 specialist subagents managed and reviewed by an Opus 5.5 Orchestrator (`Model="inherit"` for all).

Give every photo a matching camera, rendering in Cycles a showcase and a Before-vs-After progression matrix.

Run caffeinate for the whole run. Ask me if anything is missing.
I’m on a Mac. Adding ‘Run caffeinate for the whole run’ prevents it from going to sleep. This step will take multiple hours; I ran it overnight.
What happens when you run the skill, step by step
- Preflight. It checks Blender, the venv,
.envand that the brief package is complete. If anything is missing, it asks before starting. - Bootstrap. It copies the pipeline into the project, starts a git repo and writes
spec/site.jsonfrom the template. - Read and plan. It reads the package and writes the thin
site.json: datums, zones in build order, drawing sheets, checks and cameras. It also seeds one Python module per zone (structure, facade, interior, base). - Checklists and decisions. The markups become a checklist for each zone. Every unknown value and open issue needs a row in
decisions_log.mdbefore the build can continue. - Blueprint. It generates the geometry from the spec: CSG solids for slabs, cores and voids, and parametric meshes and instances for members, mullions and panels. Outputs are an IFC4 model per discipline, a DXF, and a multi-panel blueprint drawn over the real drawings.
- Measured gate. It checks levels, radii, node points, polygons and counts against the spec. One failure blocks the pass.
- Overlay gate. It draws the model’s linework over every calibrated drawing and reports how far apart they are in metres.
- Compile. It builds the Blender scene at 1:1. This adds datum edge loops, metric UVs, PBR materials, hidden reference drawings, the camera rig and section cutaways. A QA gate then checks names, budgets and cameras.
- Gauntlet loop. One subagent works on each zone, in dependency order. A zone is frozen once it passes its gates. Each pass, a fresh adversarial critic scores the renders against the photos. The orchestrator turns the critic’s findings into work orders and repeats until the score plateaus or the pass budget runs out.
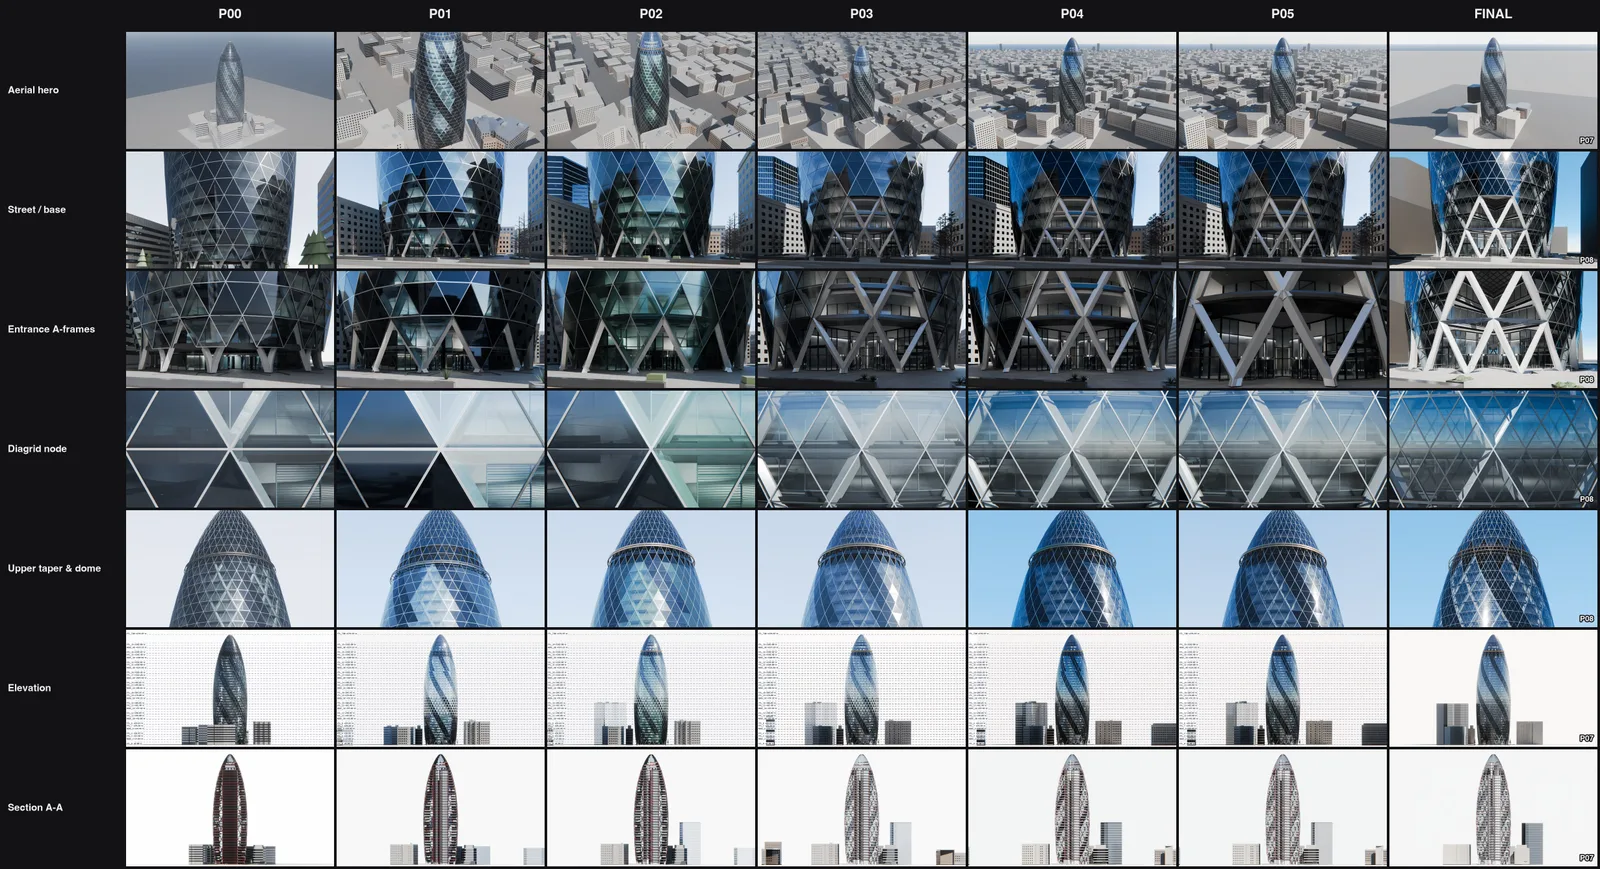
- Delivery. You get a Cycles render showcase, a section cutaway next to the as-built section, an overlay matrix, a before/after progression matrix, styled IFCs,
decisions_log.mdandREPORT.md.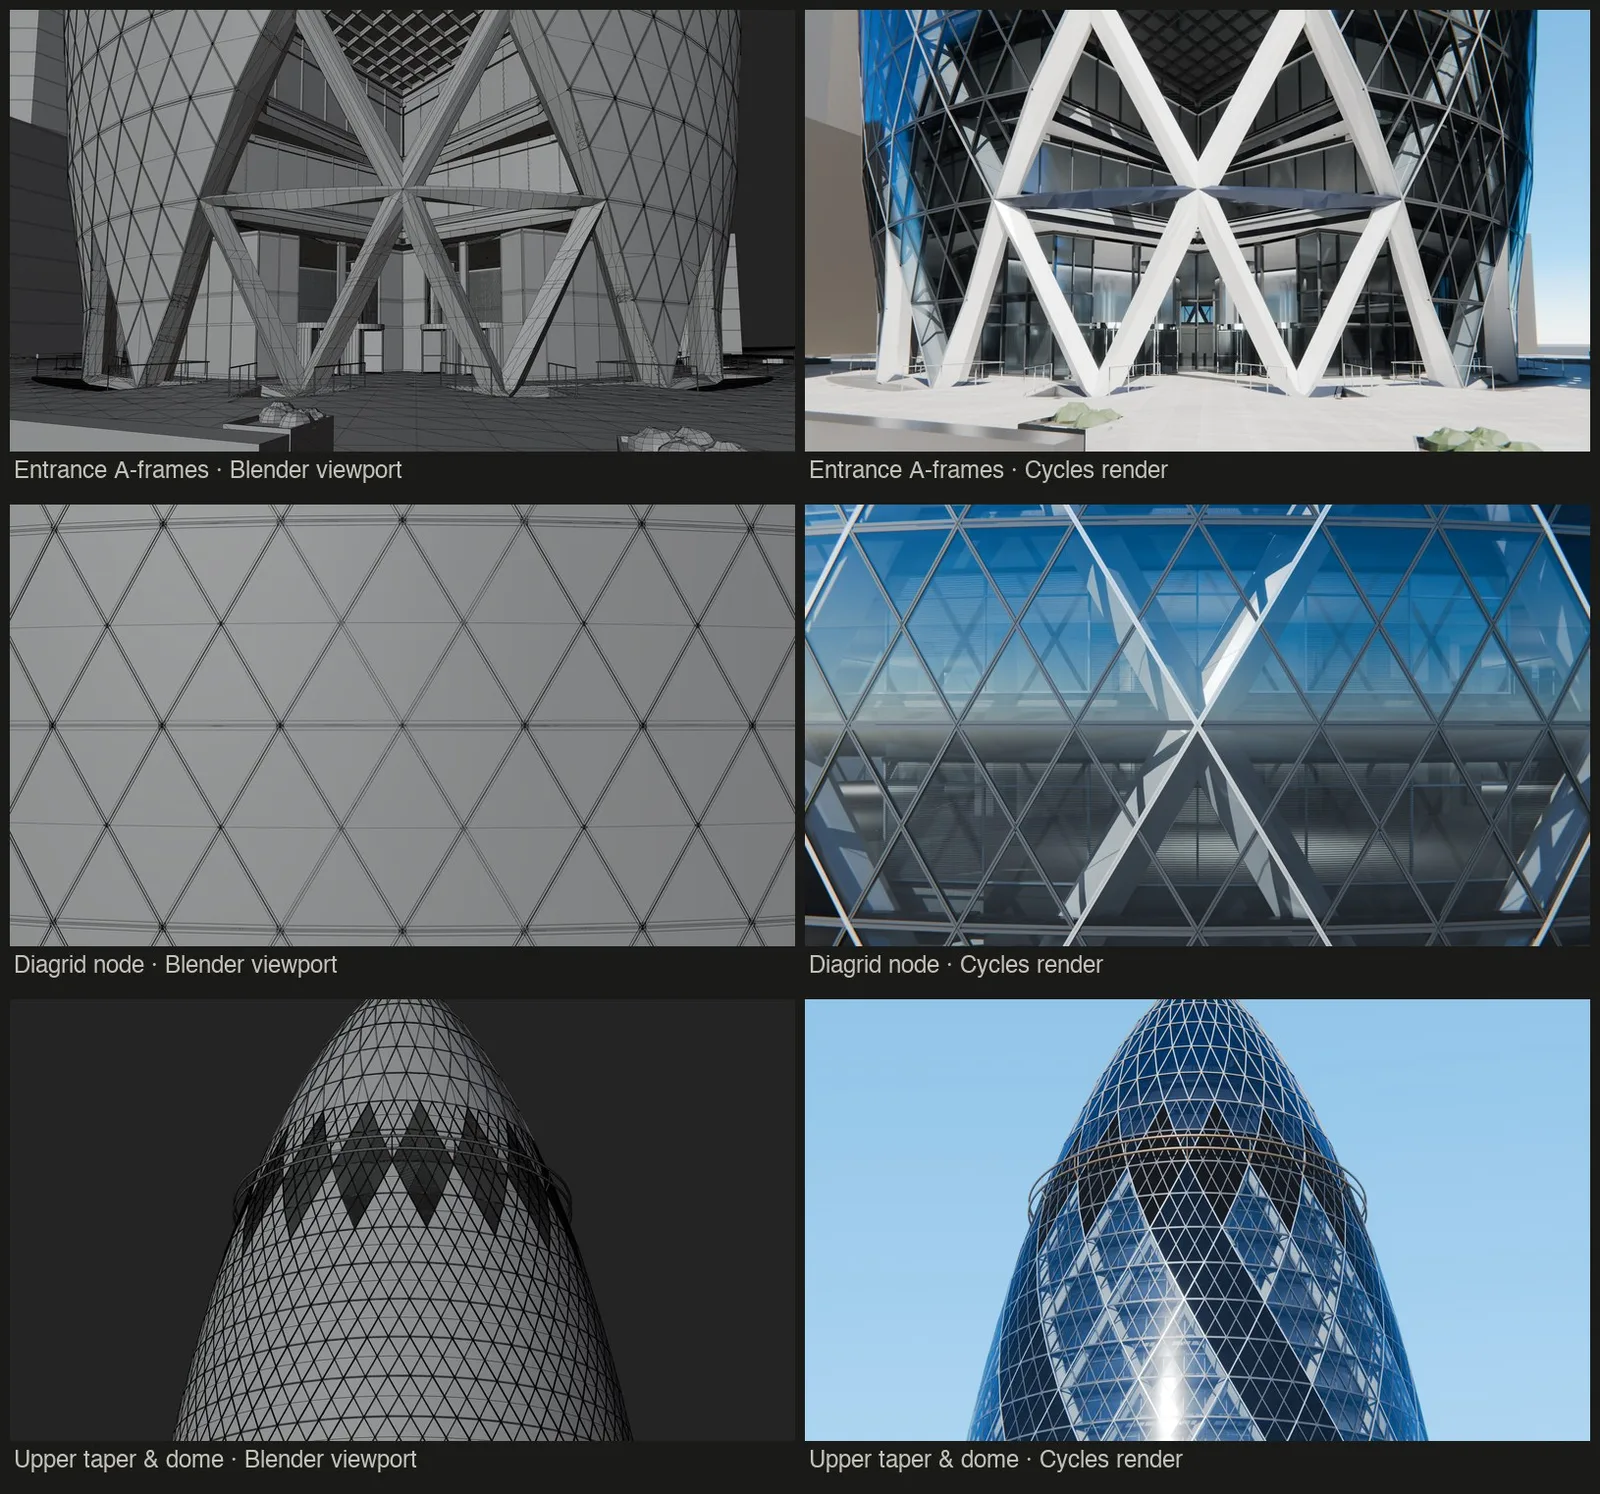
The scripts in the skill
| Script | What it does |
|---|---|
pipeline/run.py | Single entry point: every command (cycle, measure, render, freeze, status…) and the run state. |
pipeline/aep_spec.py | Loads site.json and the measured spec, and derives the named datums (FFL_17, SSL_17…). |
pipeline/specq.py | Small query language for reading values out of the large spec JSON. |
pipeline/markup_checklist.py | Turns markup callouts into per-zone checklists and issue/assumption registers. |
pipeline/decisions.py | Checks that every assumption and open issue has a row in decisions_log.md. |
pipeline/stage01_blueprint.py | Builds the zone geometry, validates it and draws the N-panel ANSI31 blueprint. |
pipeline/geom_io.py | Saves and loads geometry as .npz files plus a manifest, so Python and Blender can share it. |
pipeline/linework.py | Cuts meshes with planes and extracts feature edges for drawings. |
pipeline/ifc_export.py | Writes IFC4 files per discipline with storeys, IFC classes, styled materials and mapped instances. |
pipeline/ifc_styles.py | Renders a swatch of each Blender material so IFC colours match the render. |
pipeline/measure.py | Measured gate: level, extent, radius, point, polygon and count checks against the spec. |
pipeline/overlay.py | Overlay gate: draws the model over each underlay and reports deviation figures and a matrix. |
pipeline/underlays.py | Reads the calibrated drawings’ sidecars and converts between pixels and world coordinates. |
pipeline/stage03_compile.py | Compiles everything 1:1 into a Blender scene: materials, reference planes, cameras, cutaways. |
pipeline/aep_blender.py | Blender helpers: datum imprinting, metric UVs, PBR, lighting and studio polish. |
pipeline/qa_checks.py | QA gate inside Blender: naming, hidden references, tri budget, camera clipping. |
pipeline/stage04_render.py | Renders a pass’s cameras with Cycles, one render at a time. |
pipeline/contact_sheet.py | Builds labelled contact sheets and the before/after progression matrix. |
zones/_template.py | Starting point for a zone module (assumptions, solids, meshes, instances, materials). |
zones/lib_geom.py | Parametric geometry kit: prisms, sweeps, tubes, panels, revolves and ring arrays. |
Part 3: Mark-ups
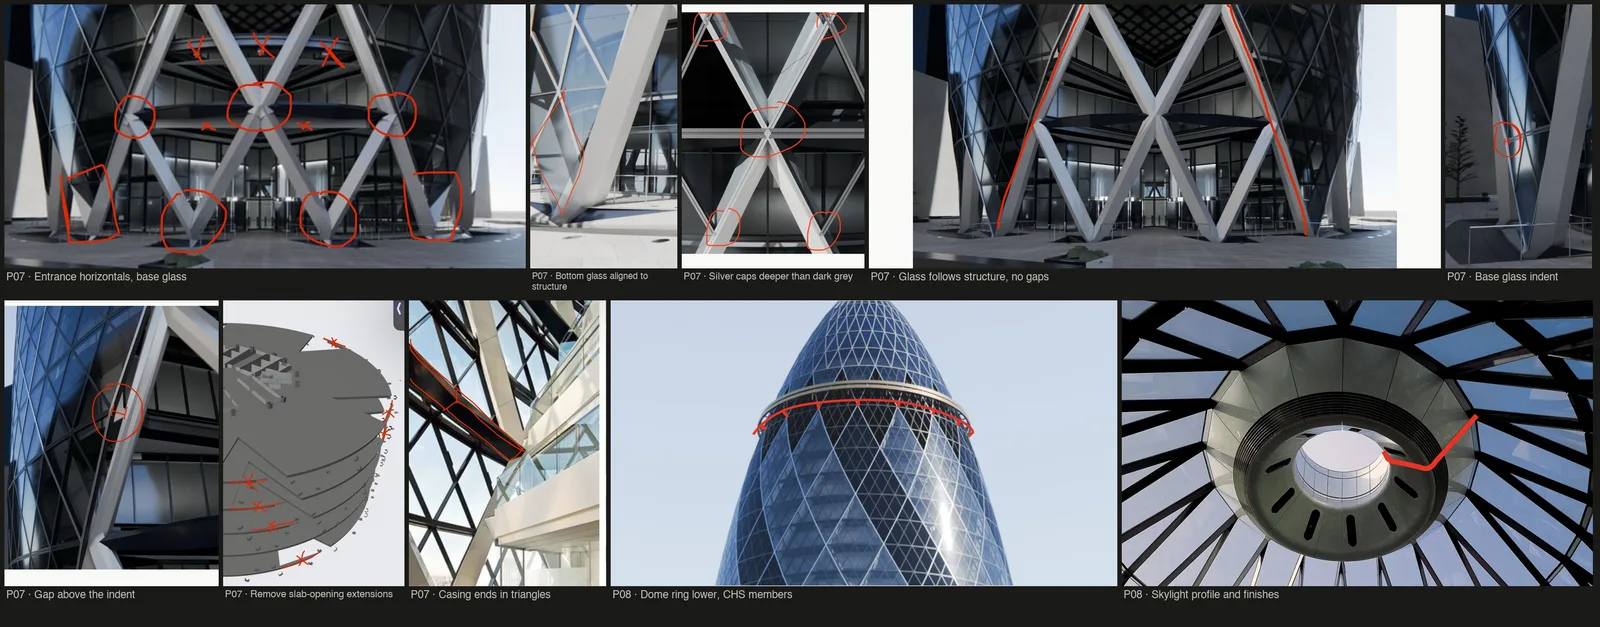
If you’ve been through this process before, you’ll know the end result is never perfect. Instead of prompting back and forth and describing what’s wrong in writing, I found the most efficient approach was to provide mark-ups. I did these on my phone, then simply gave Claude my comment and the mark-up, and at times re-attached the reference image.
Here are some examples of the mark-ups I provided:
End Results
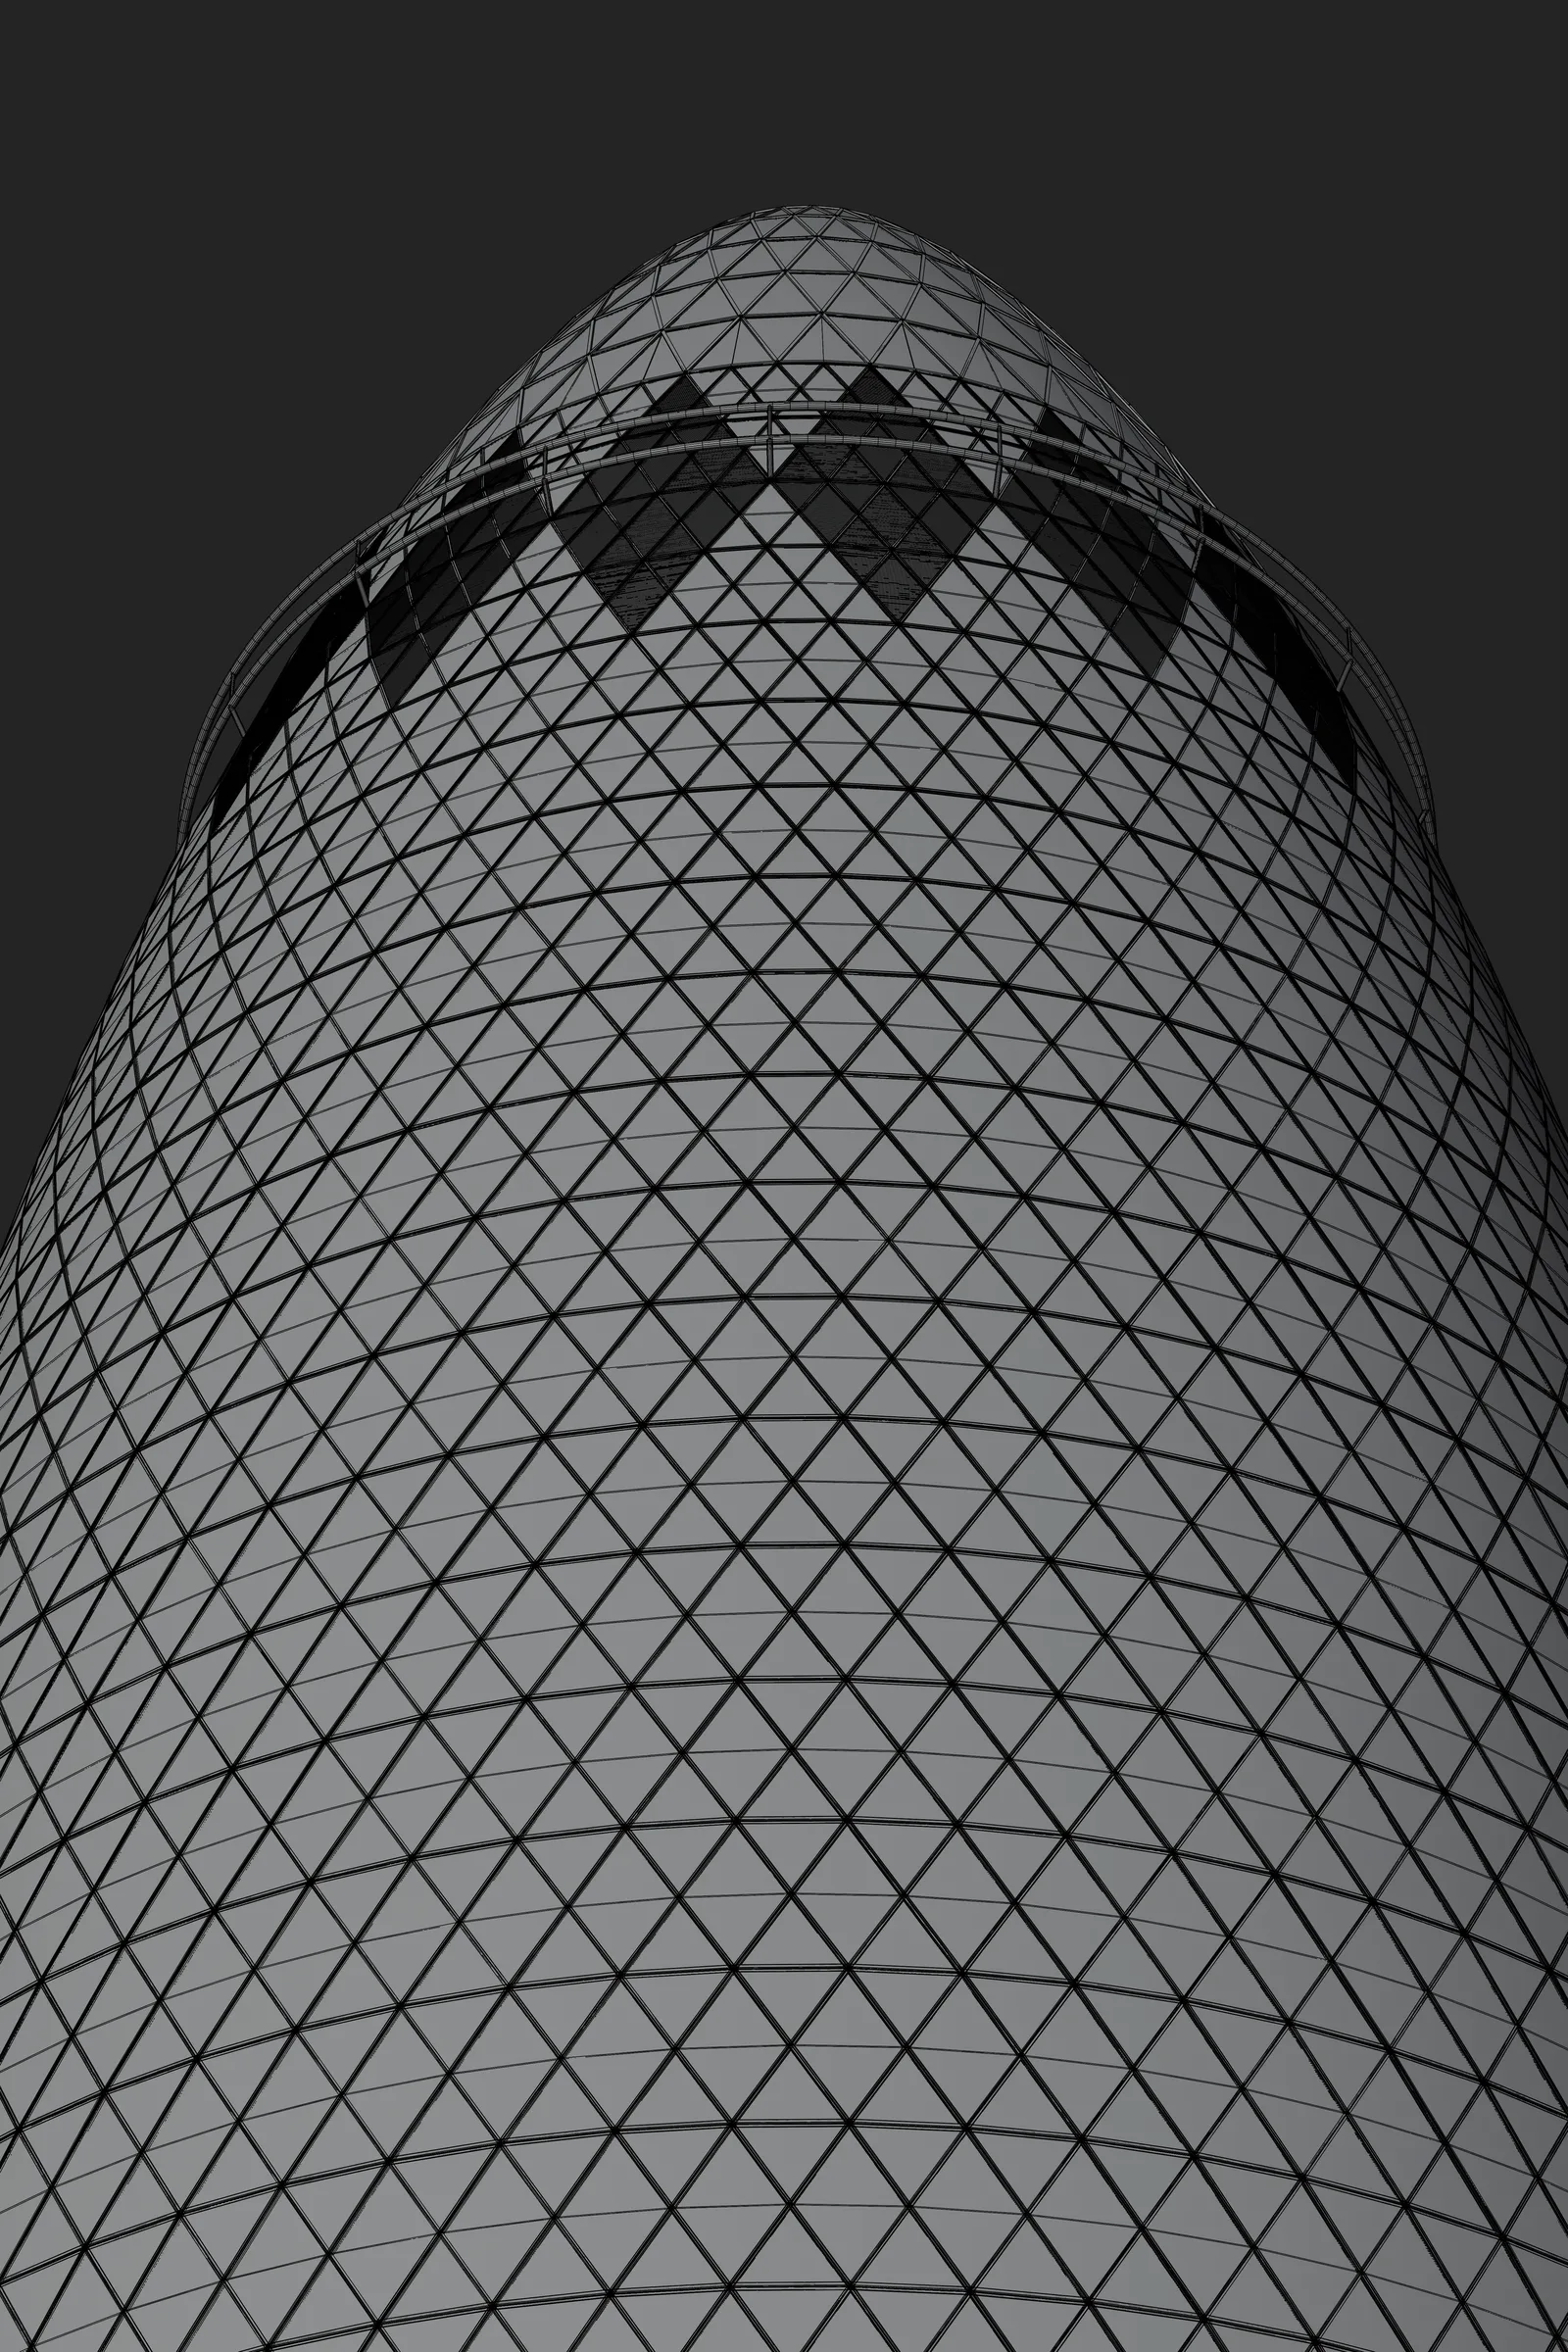
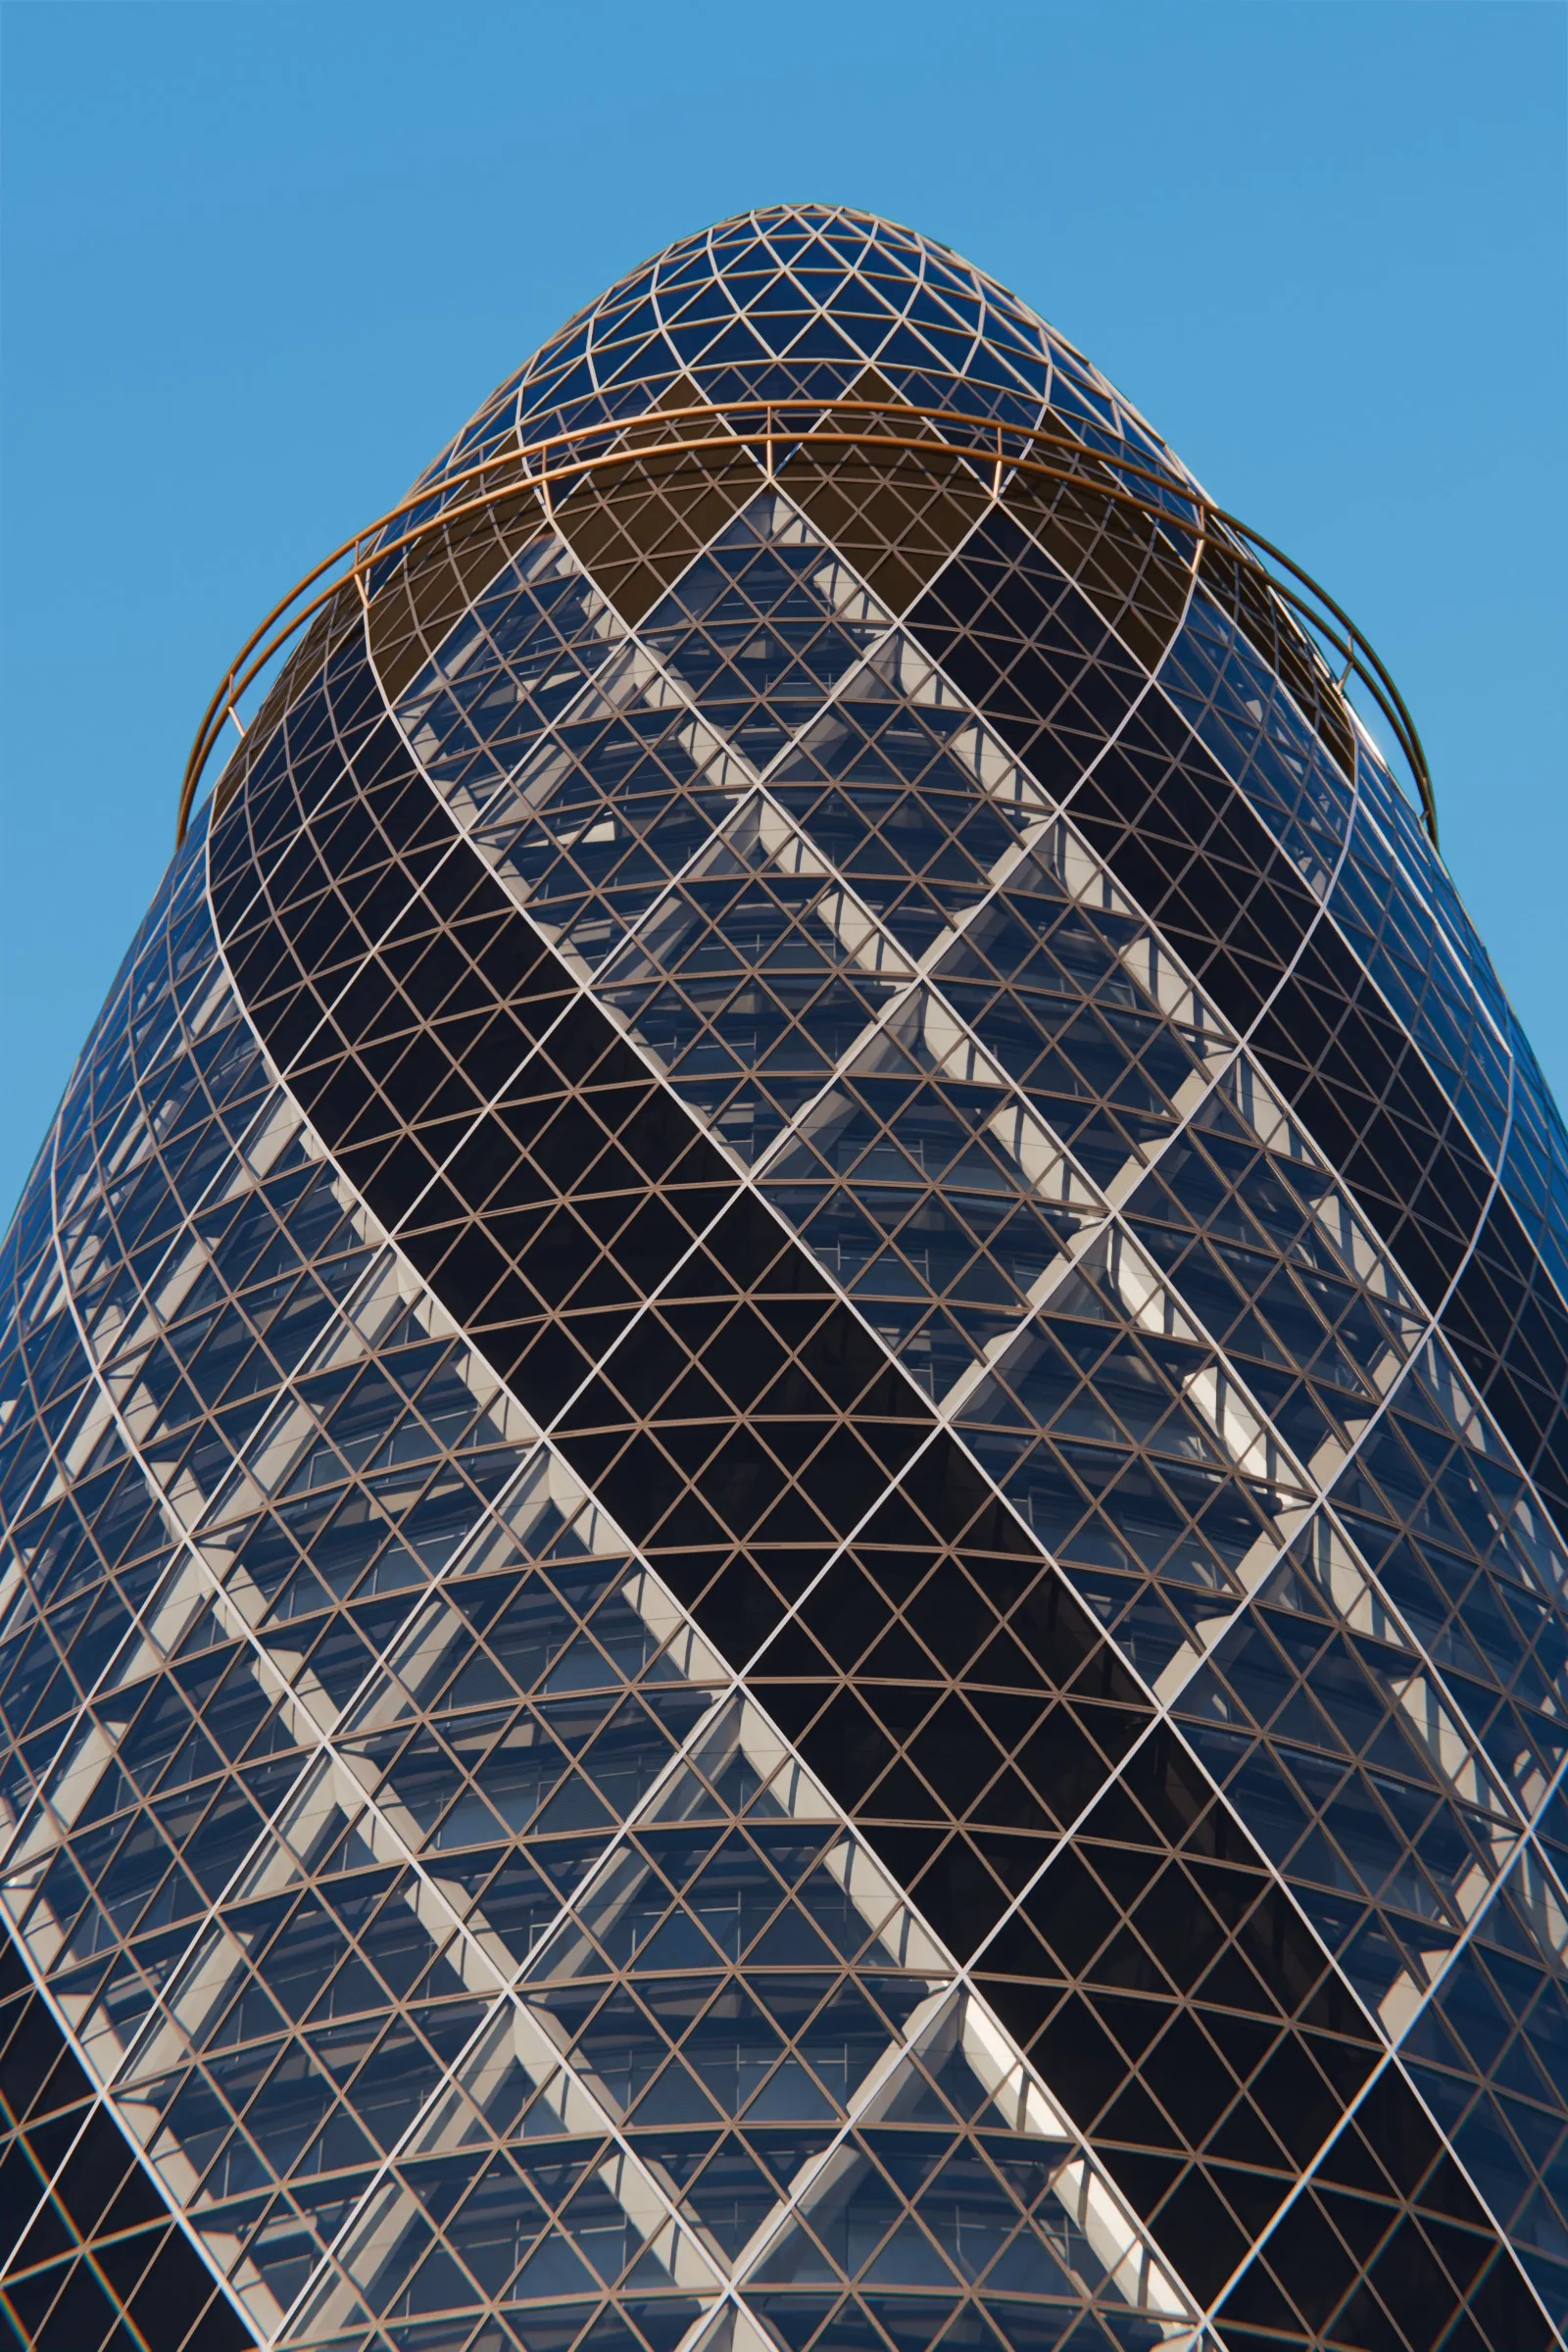
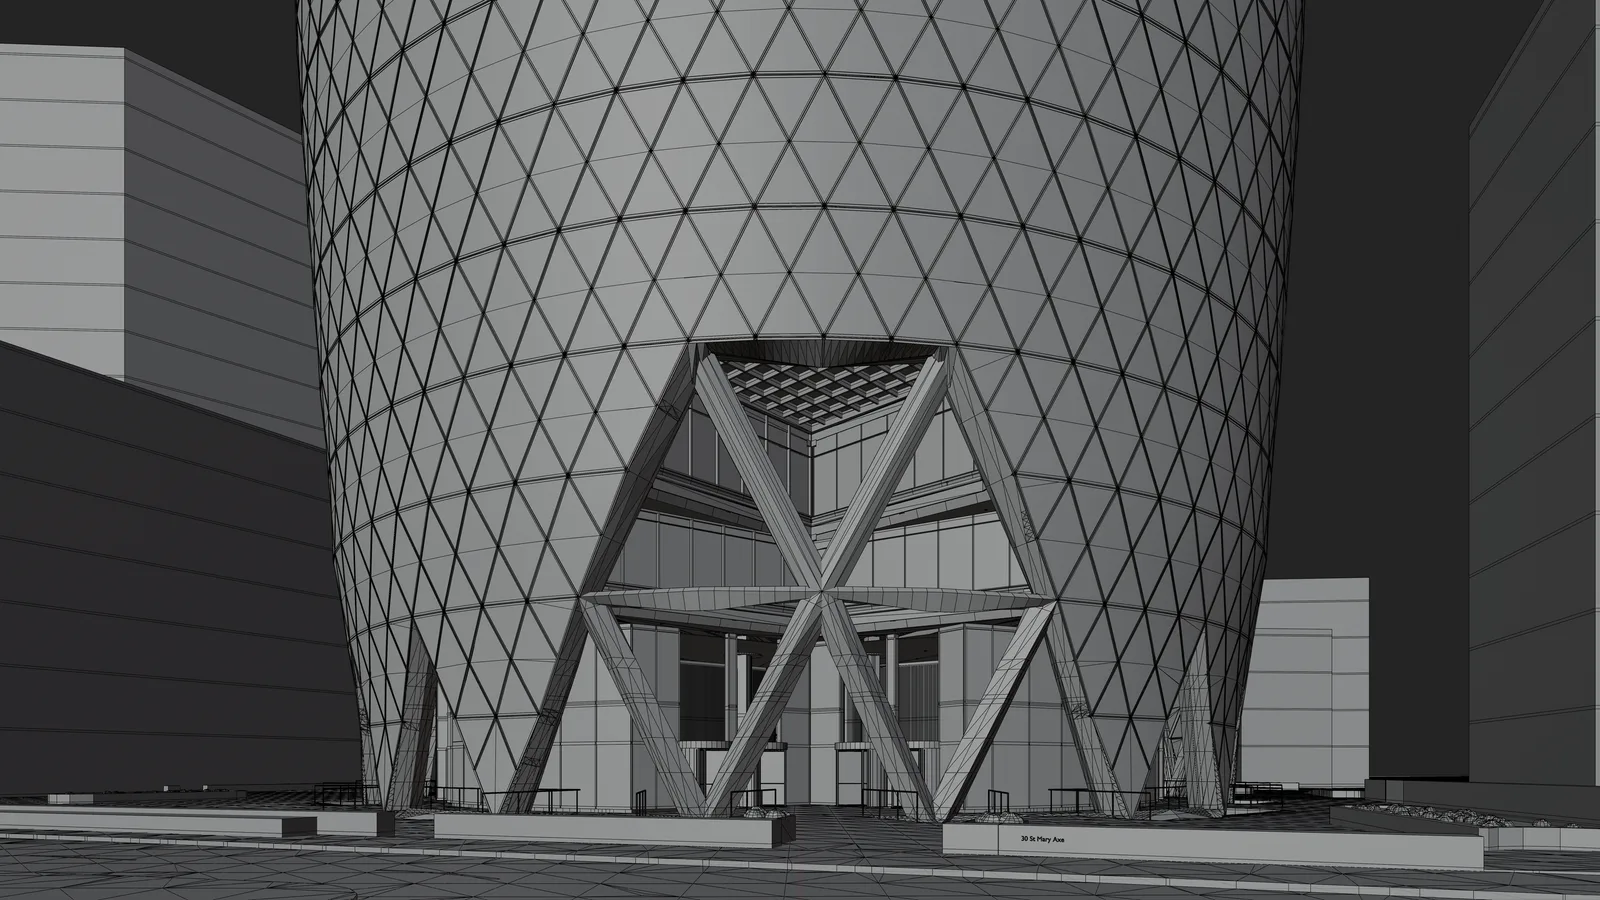
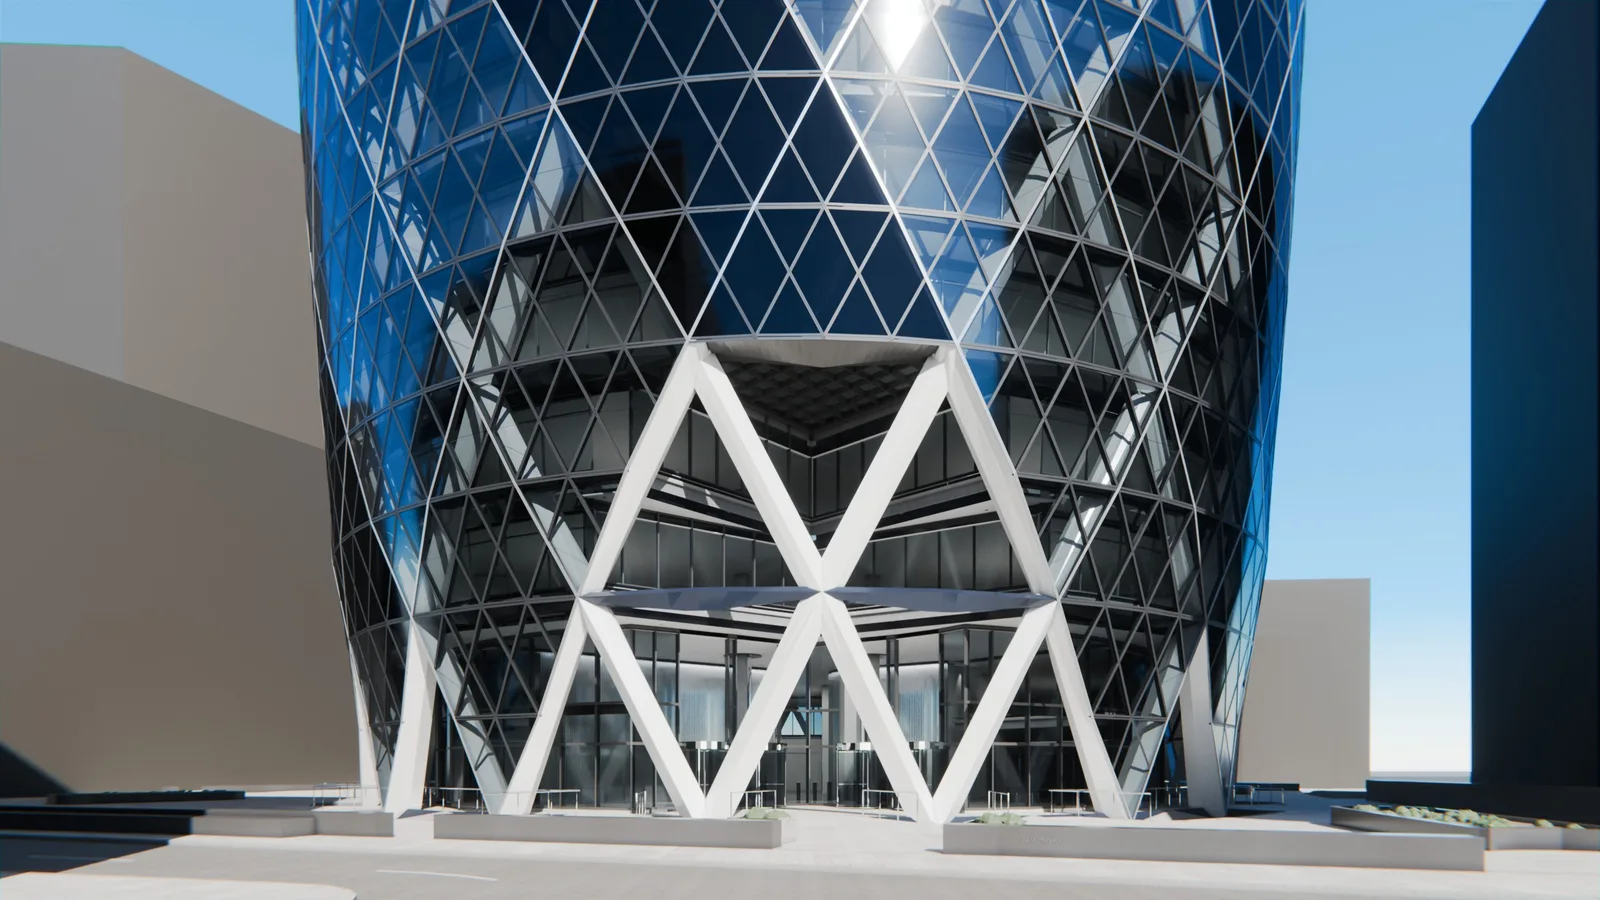
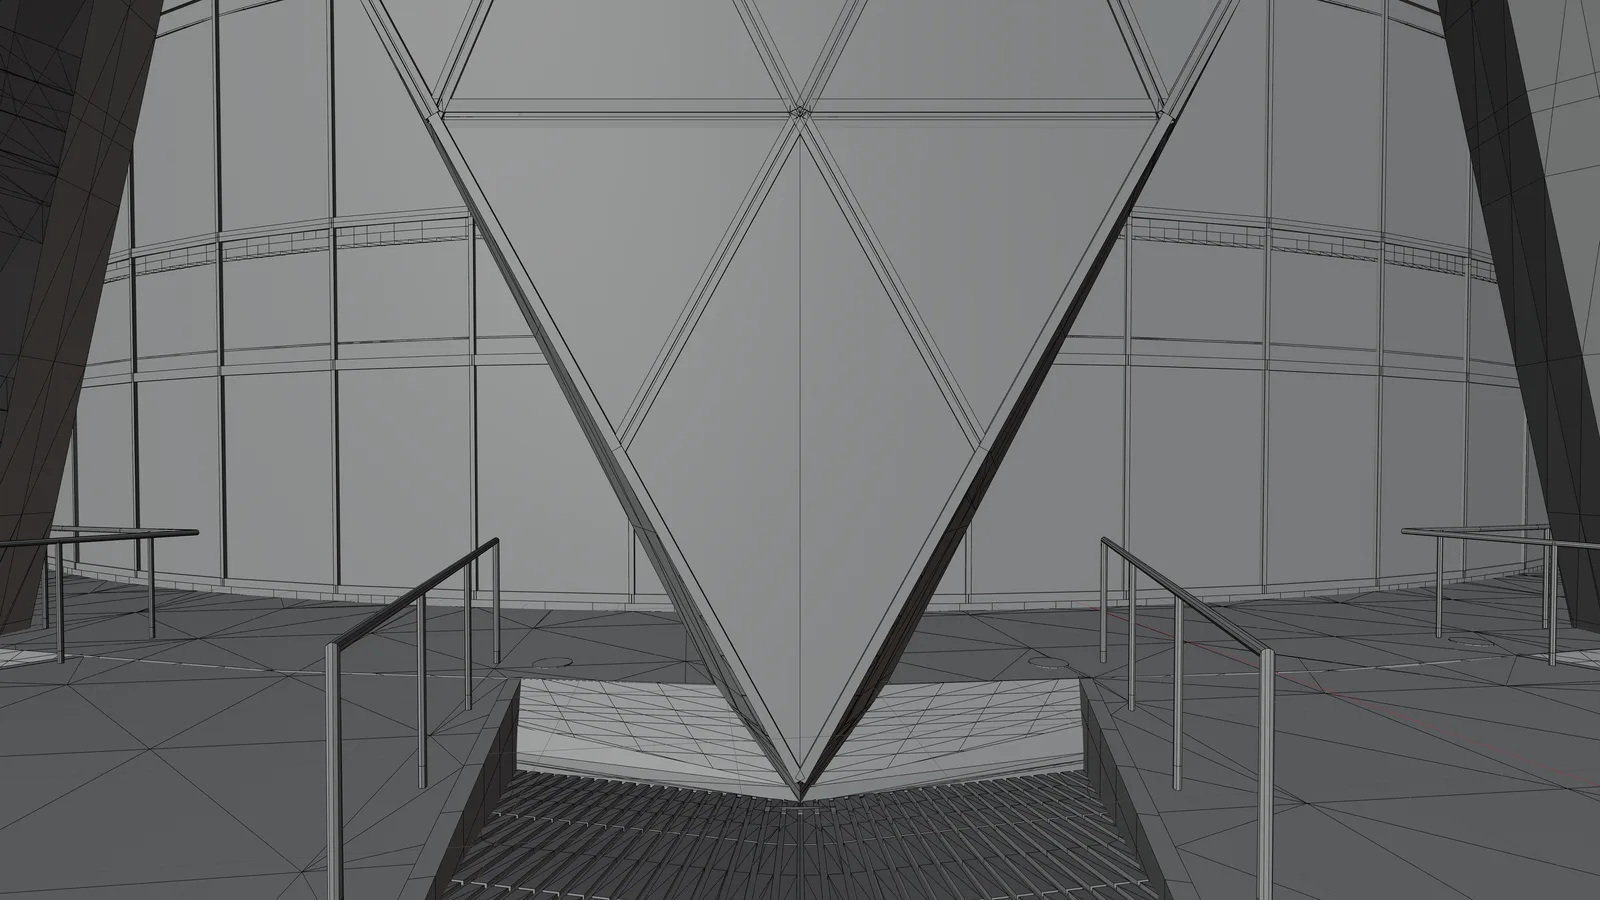
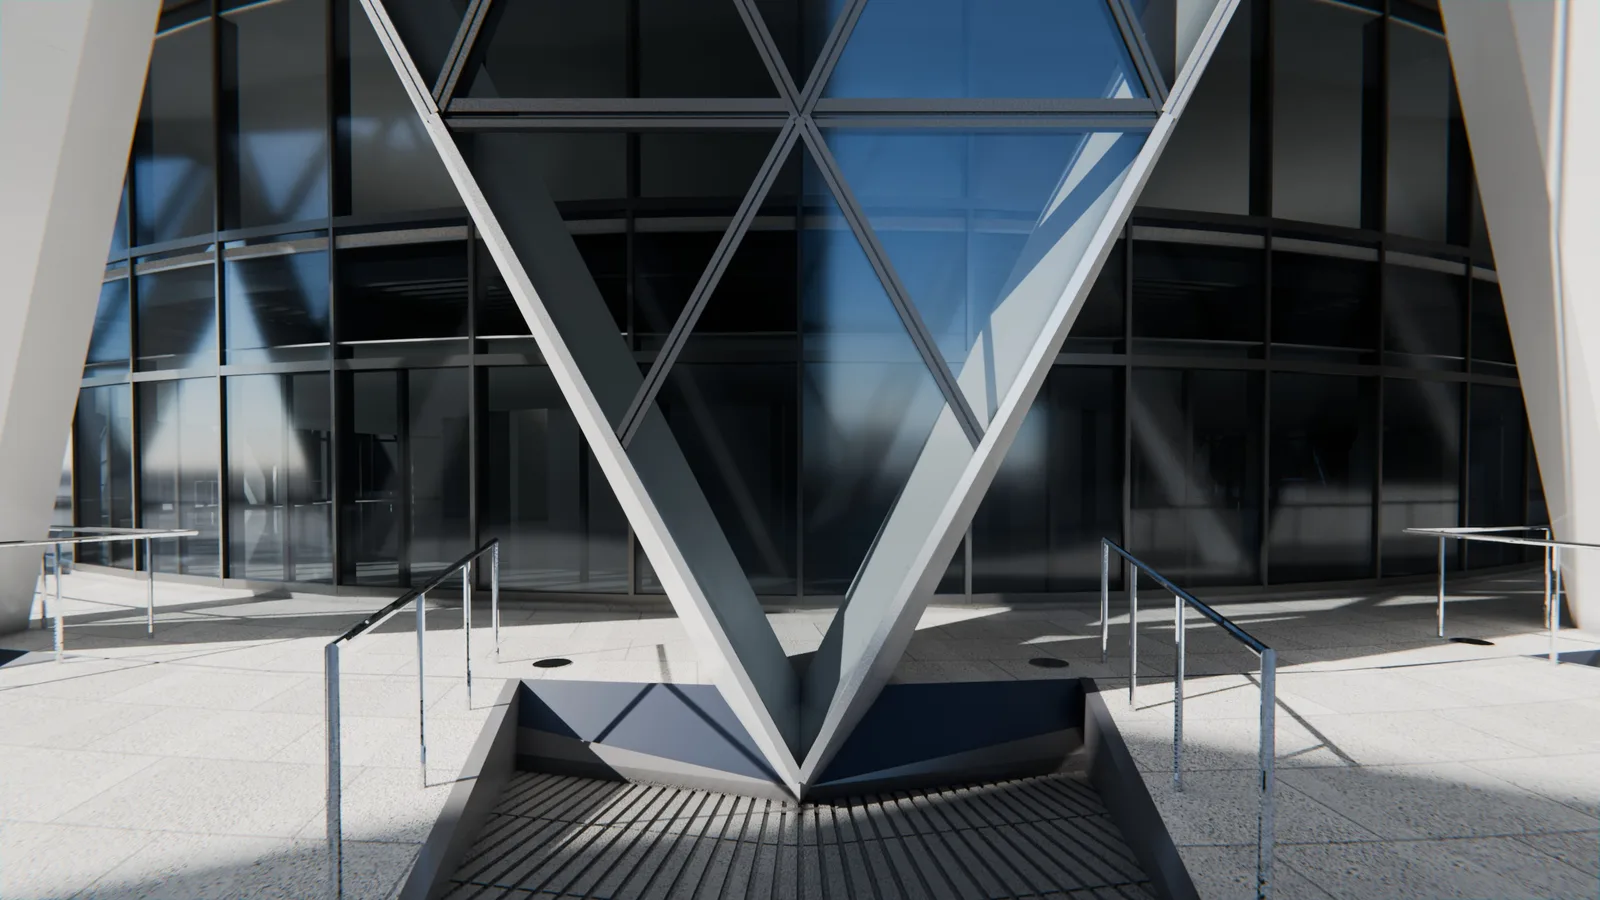
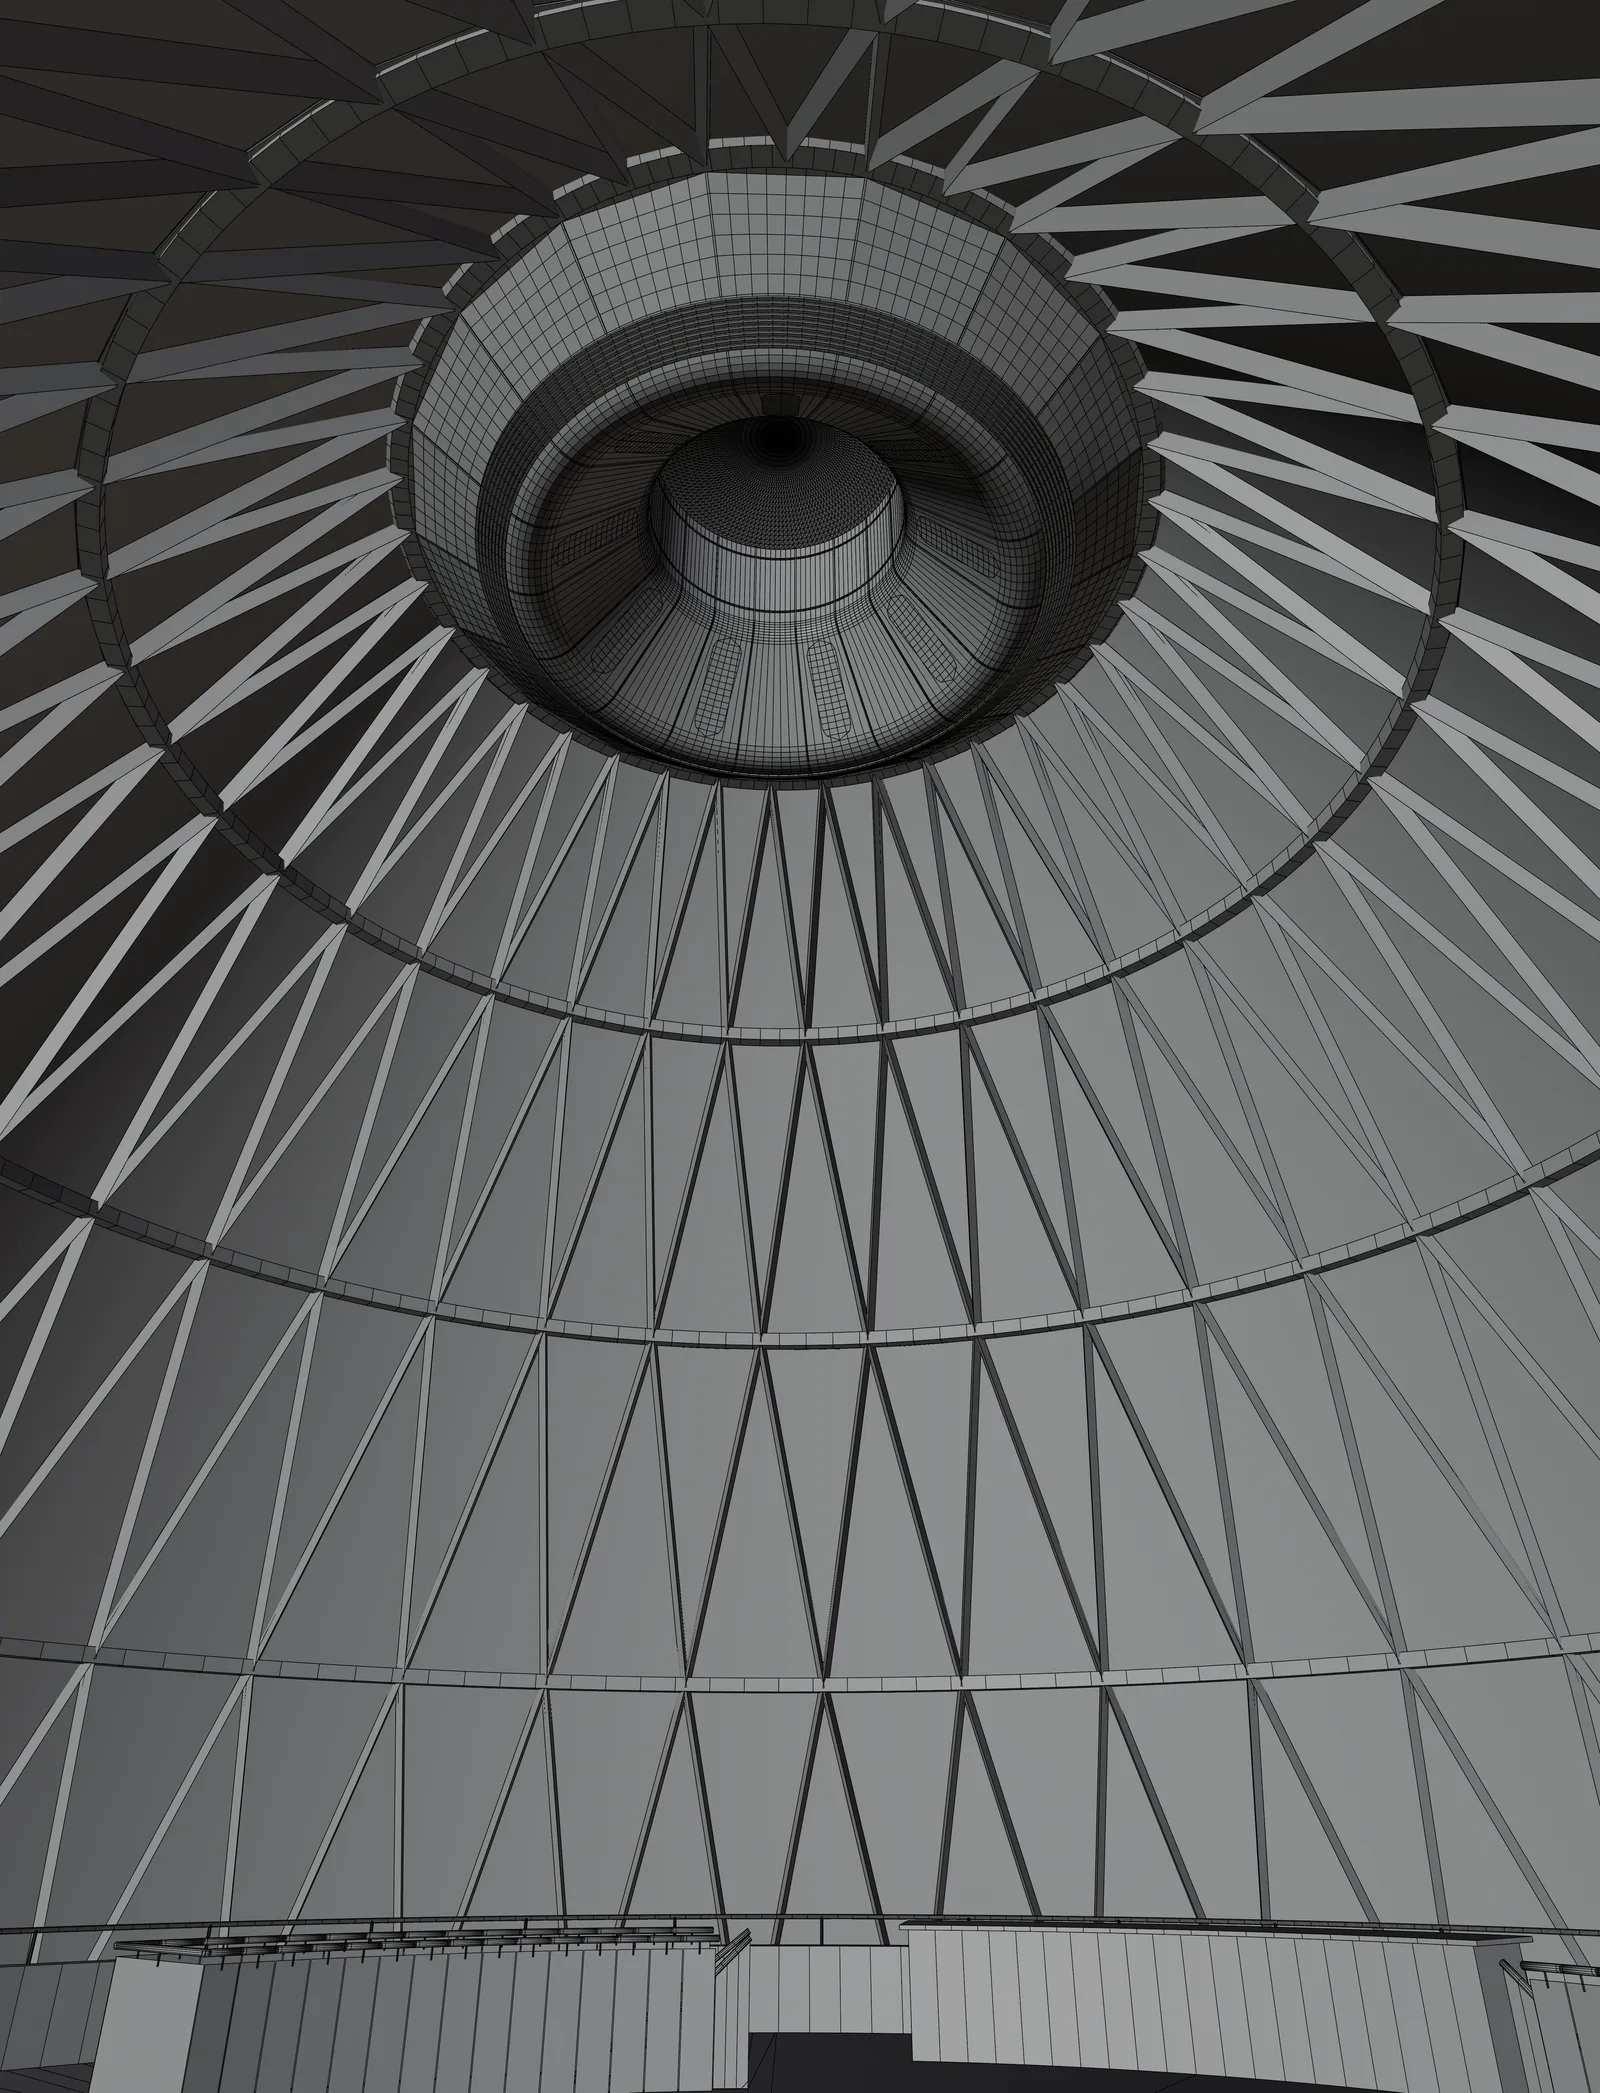
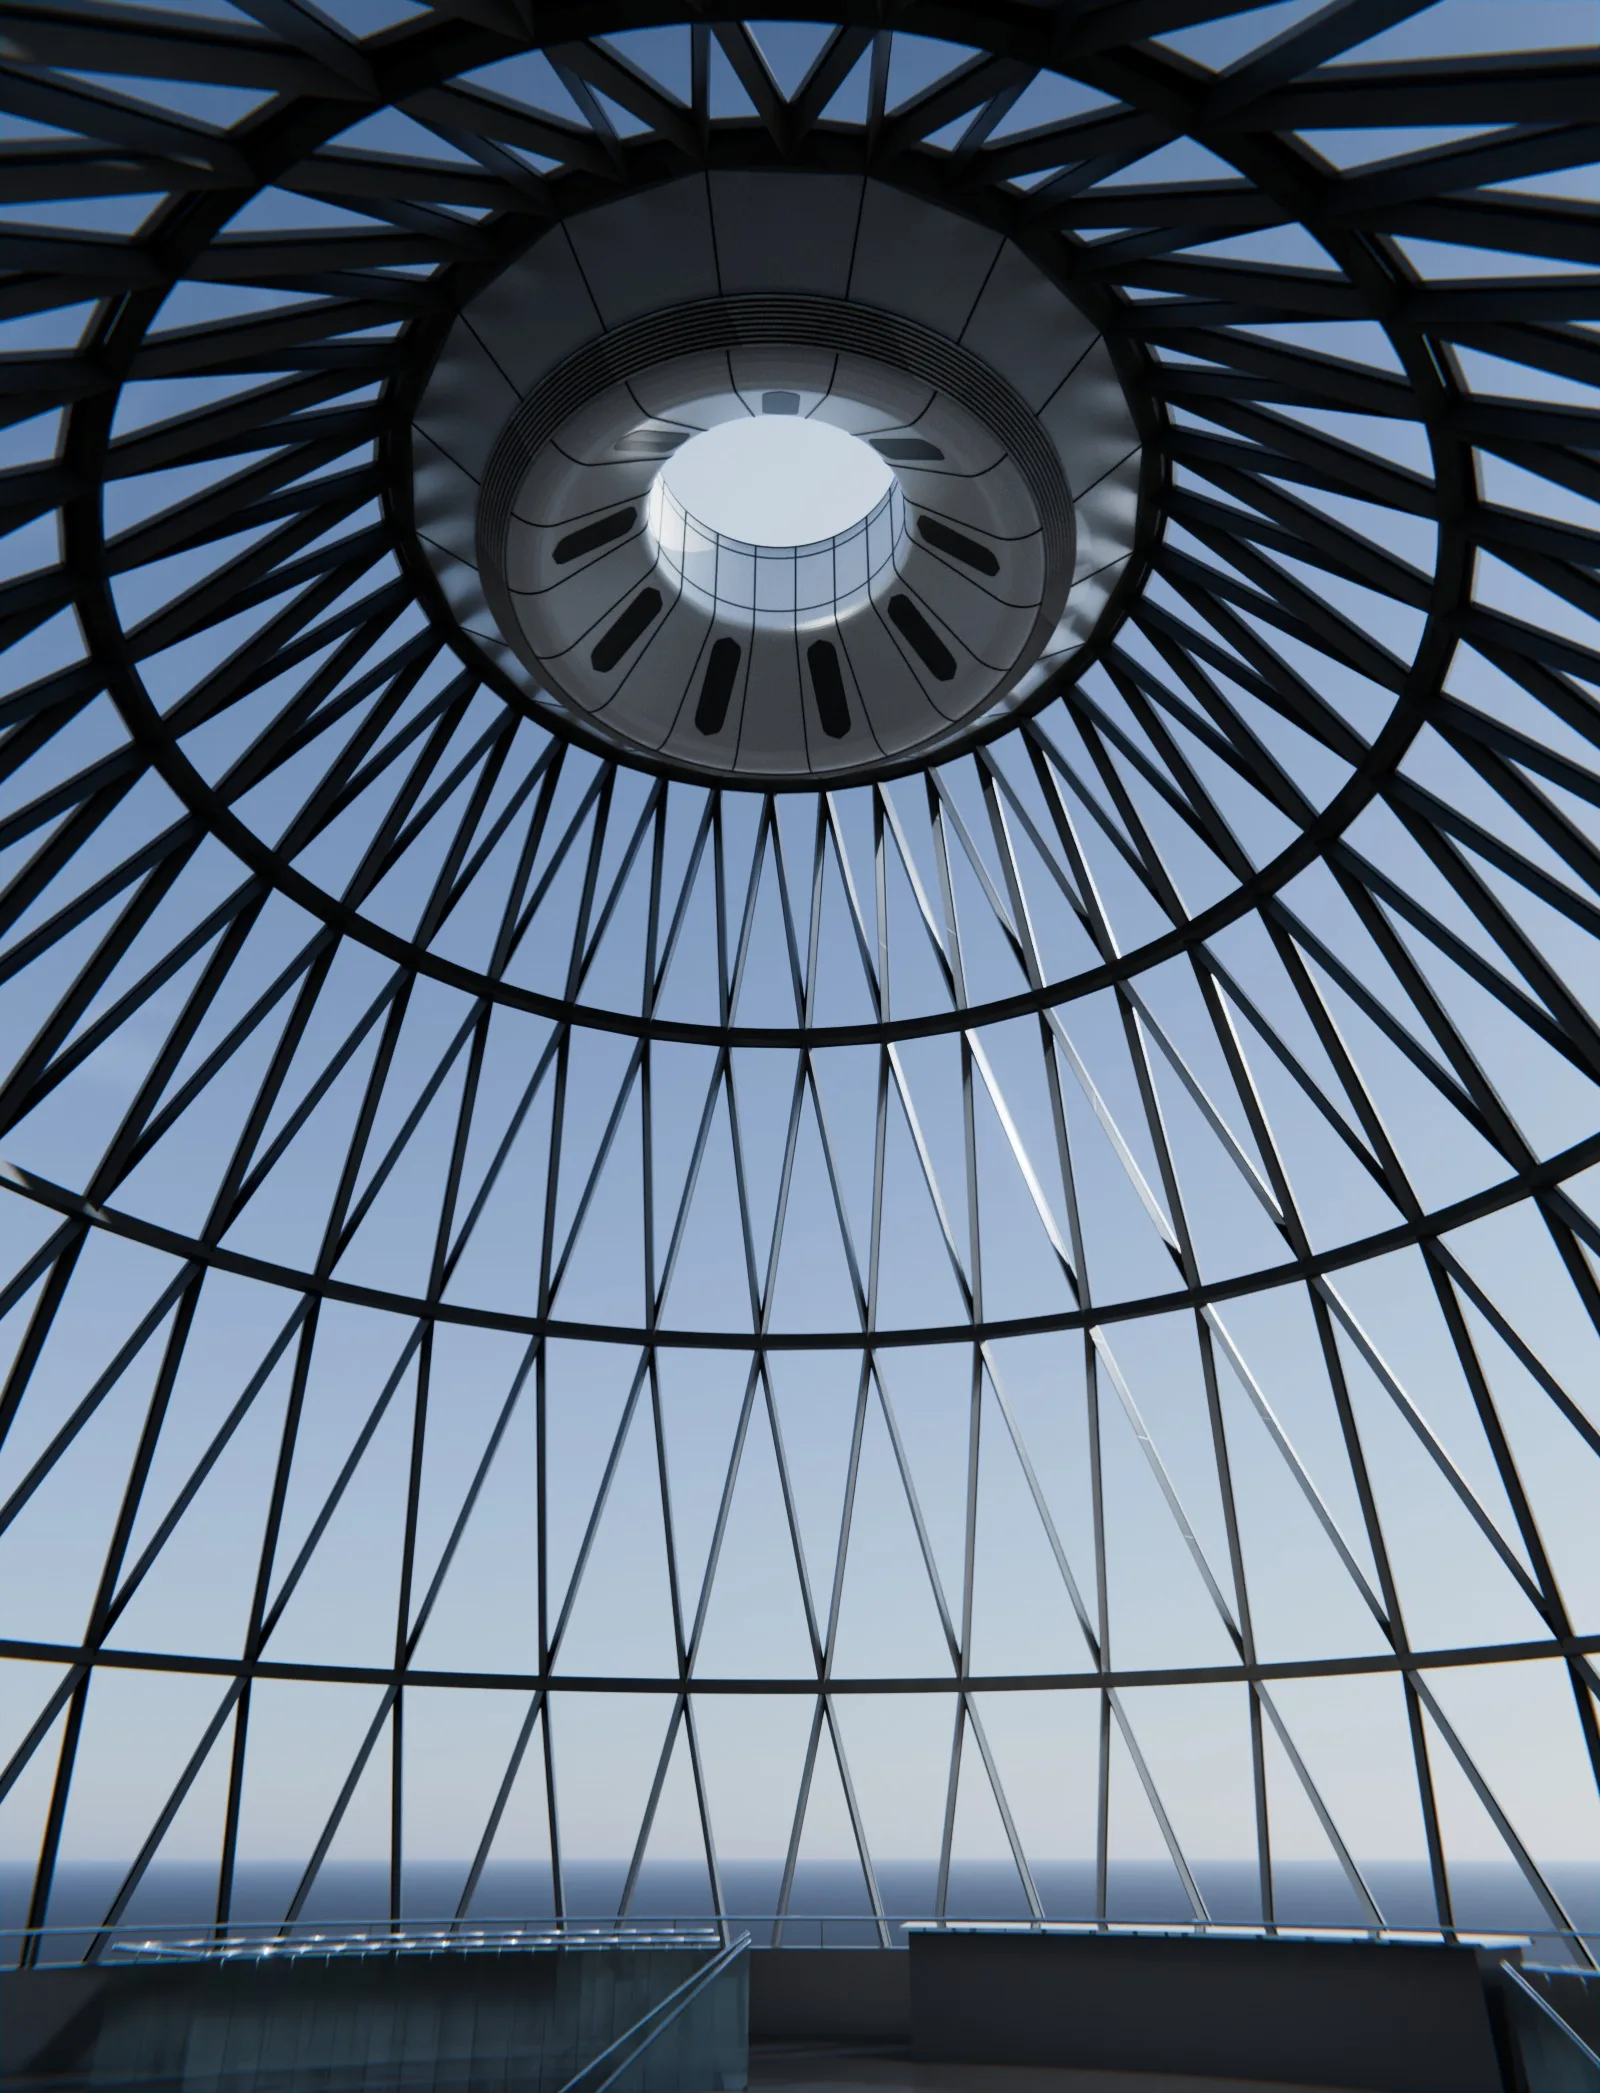
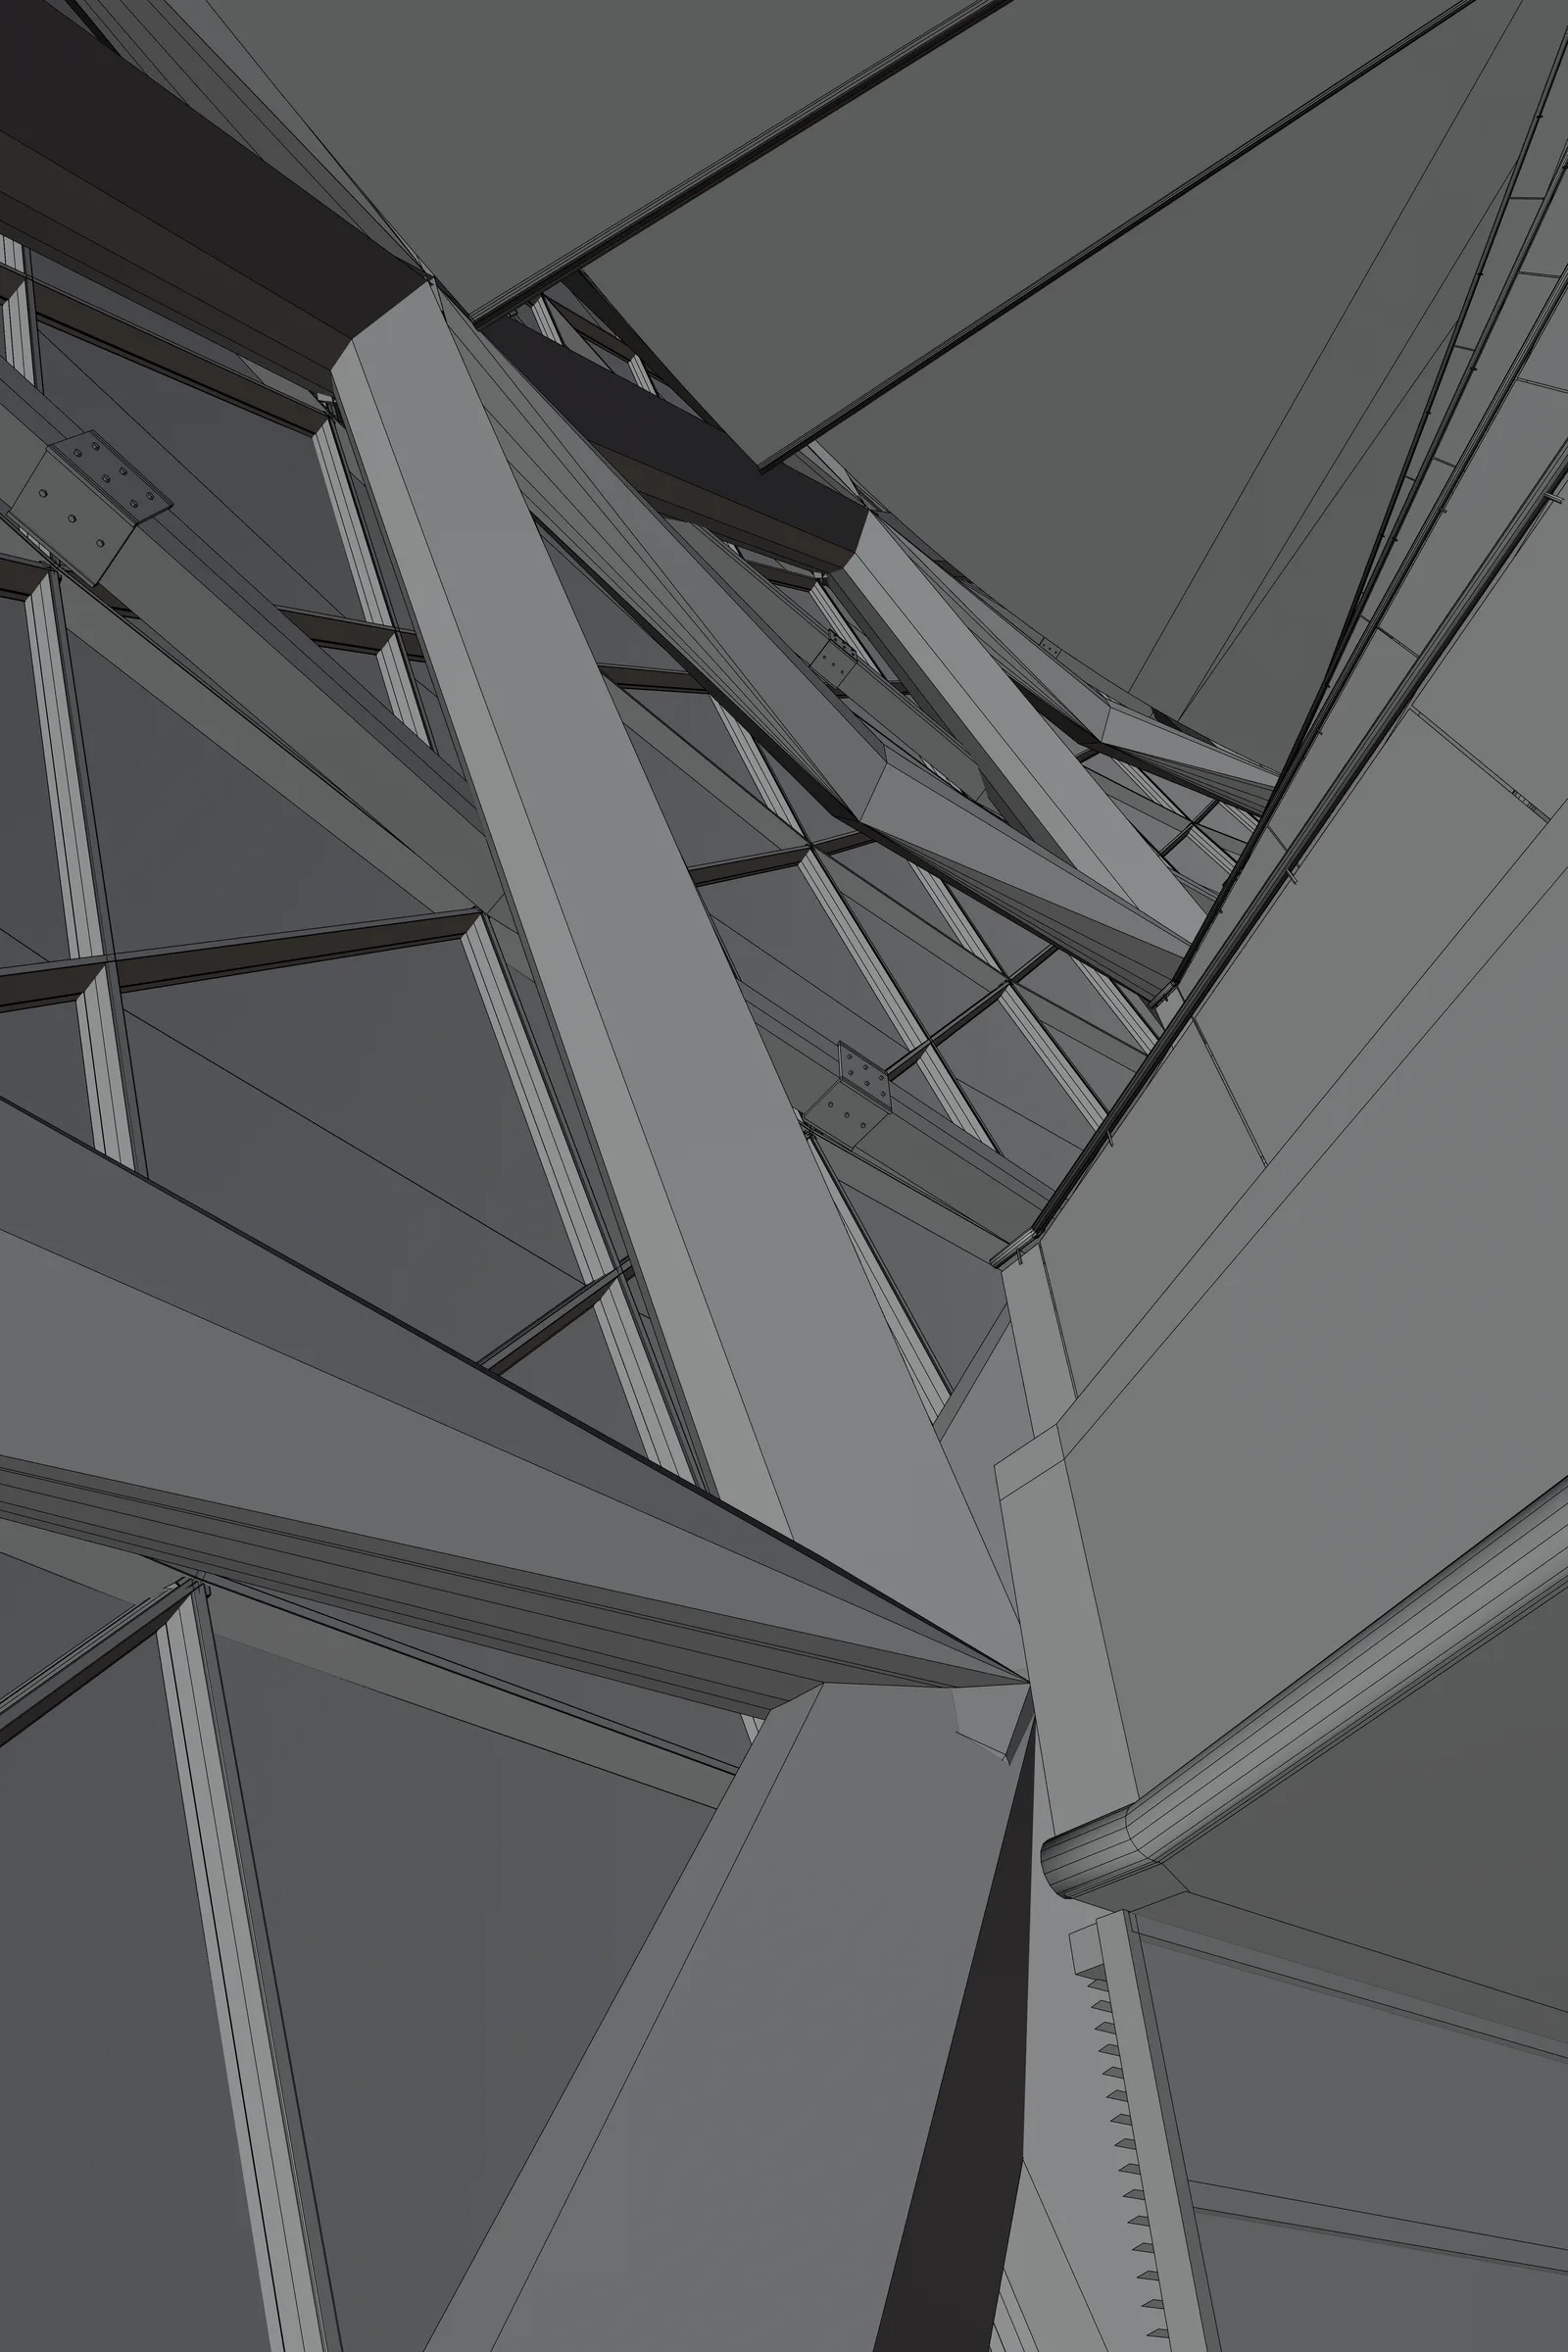
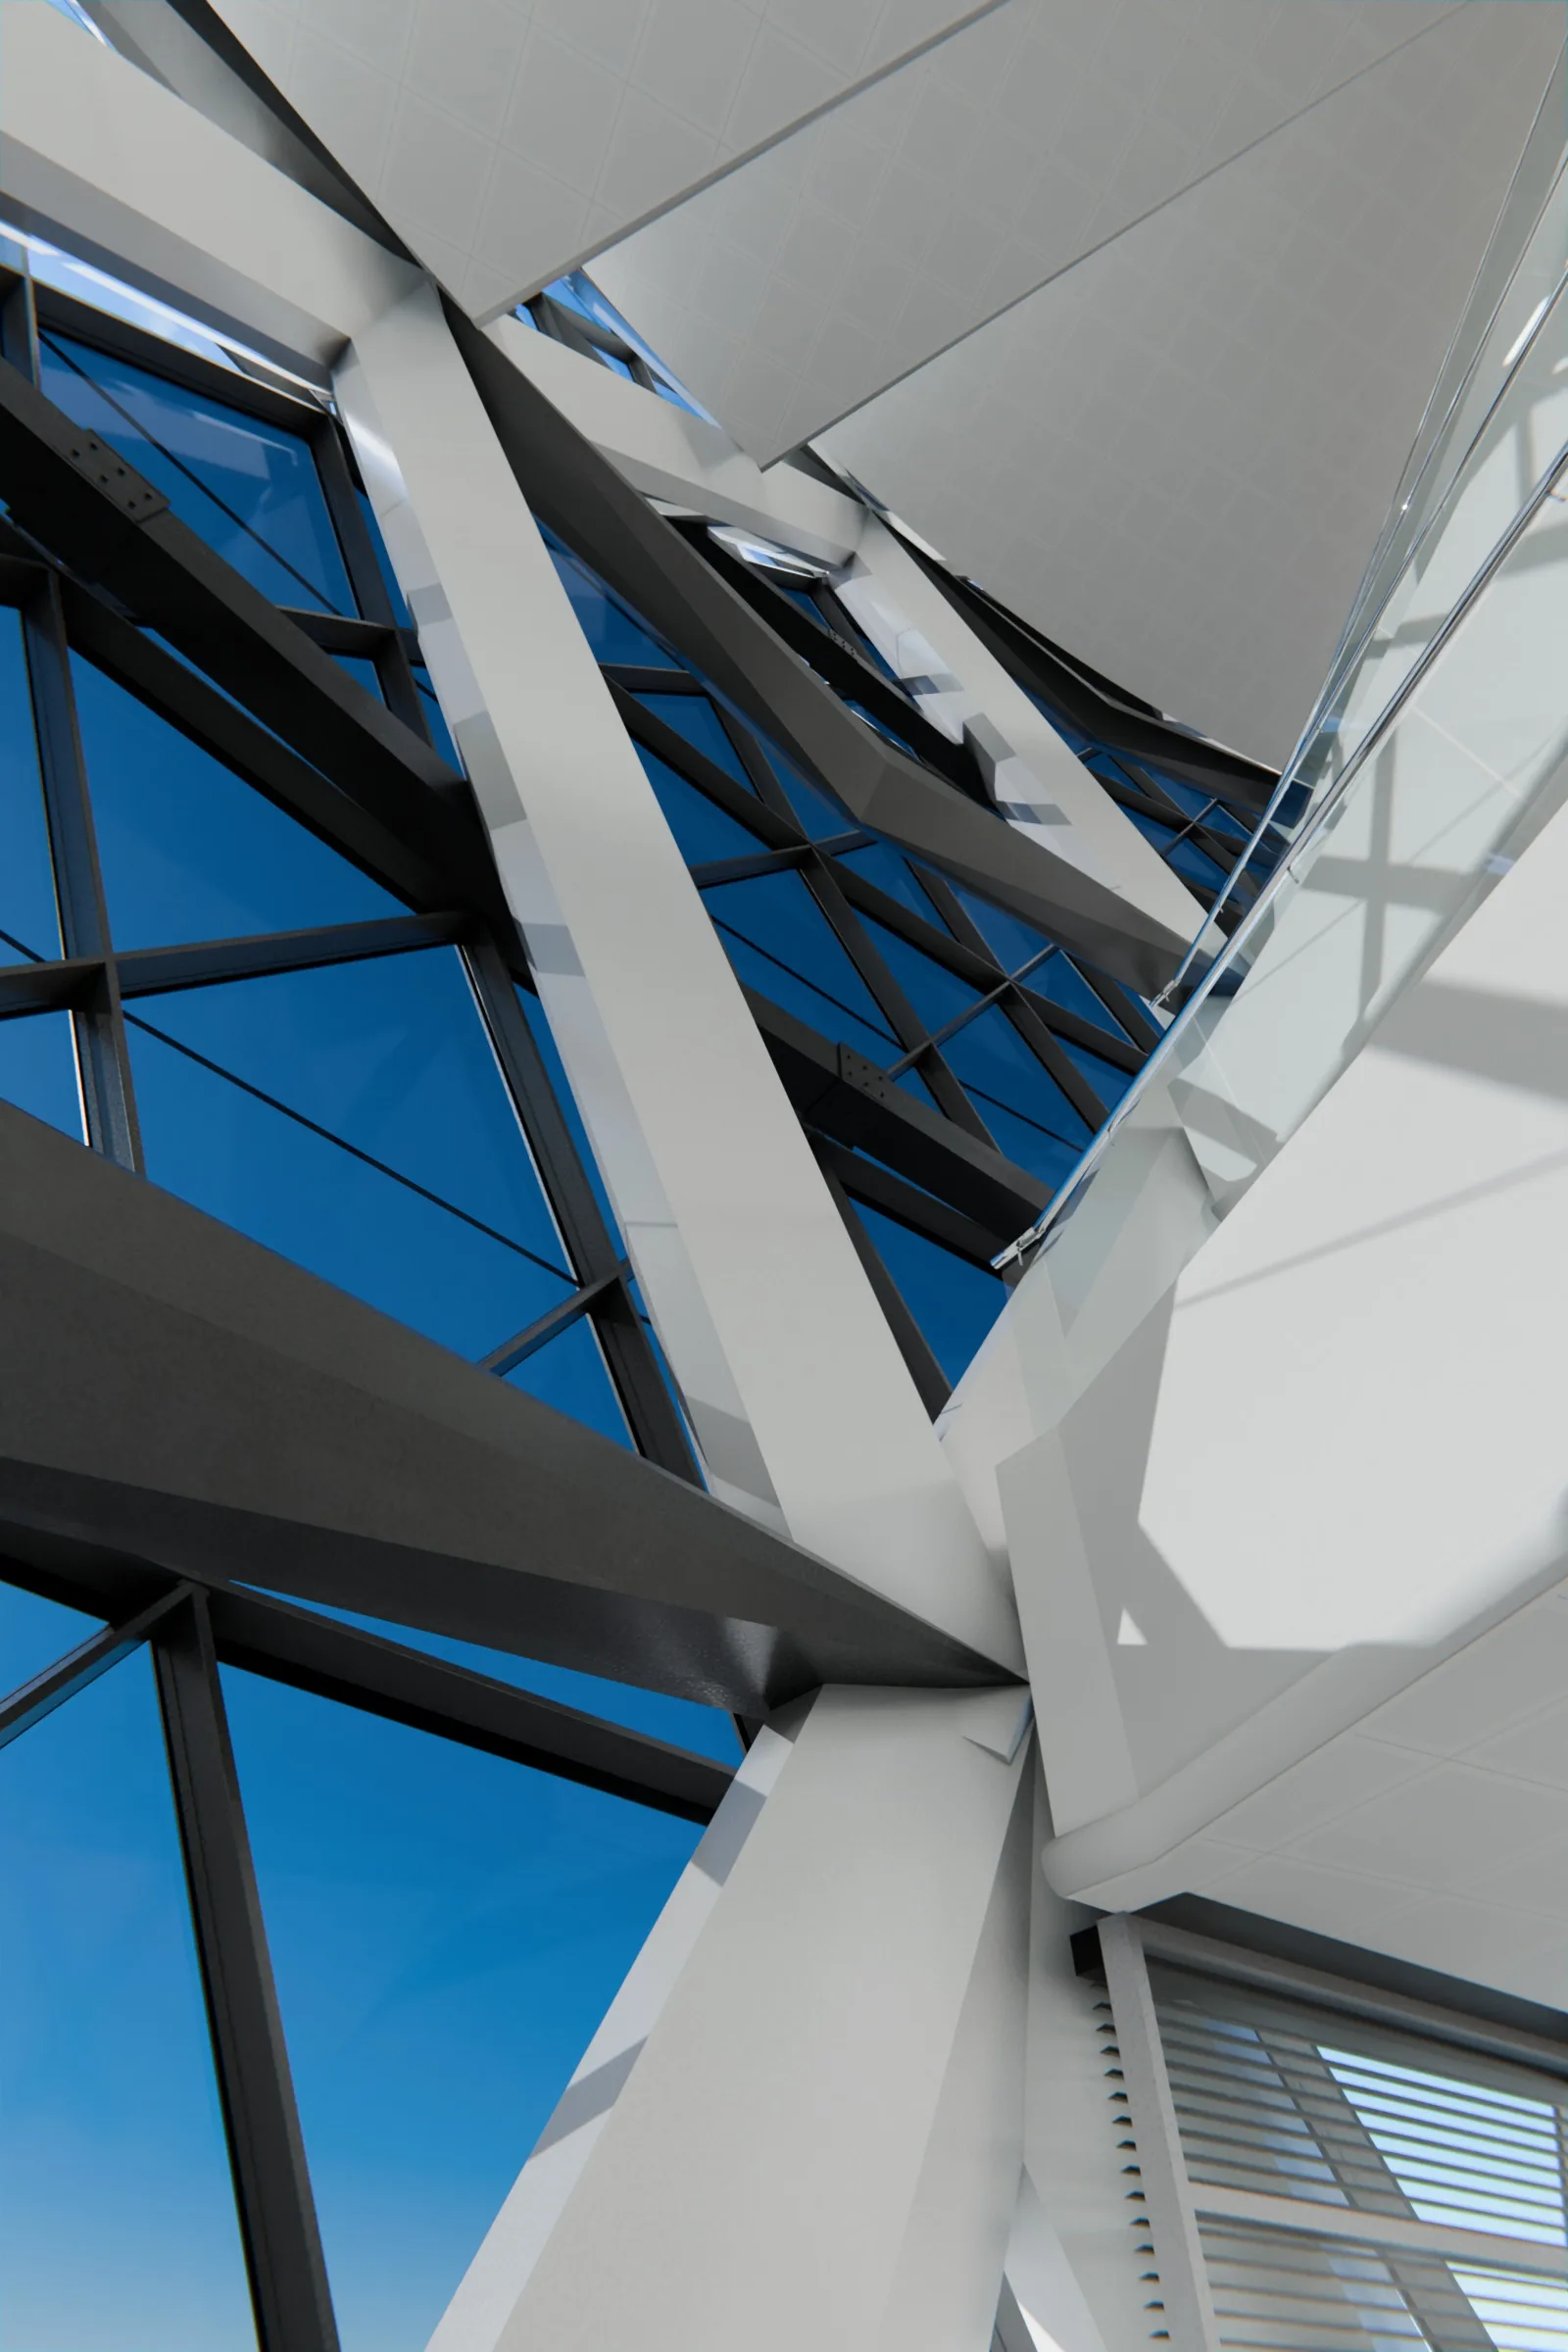
Drag the divide on each image to compare the Blender viewport with the final Cycles render from the same camera.